Final Project
Click the Arrow to Proceed to Project Page

Click the Arrow to Proceed to Project Page
For last week's project, I was on the "Laser EE" team dedicated to selecting the laser and determining how to turn it off an on. I helped select the laser by providing a variety of potential options and helping to design the circuit that ultimately housed the laser. I also helped debug the code that was eventually used to turn the laser off an on.
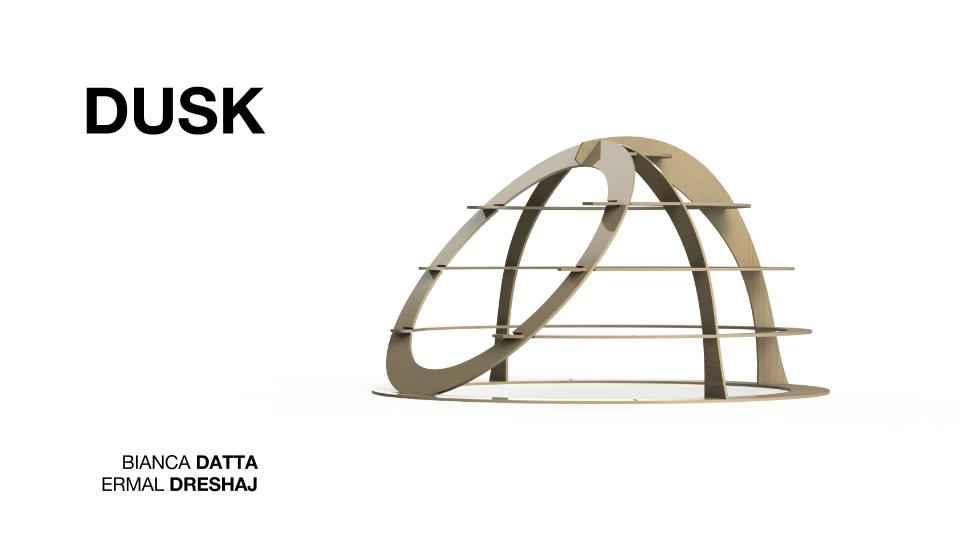
Final Project: DUSK: Creating quiet, personal spaces in the media lab
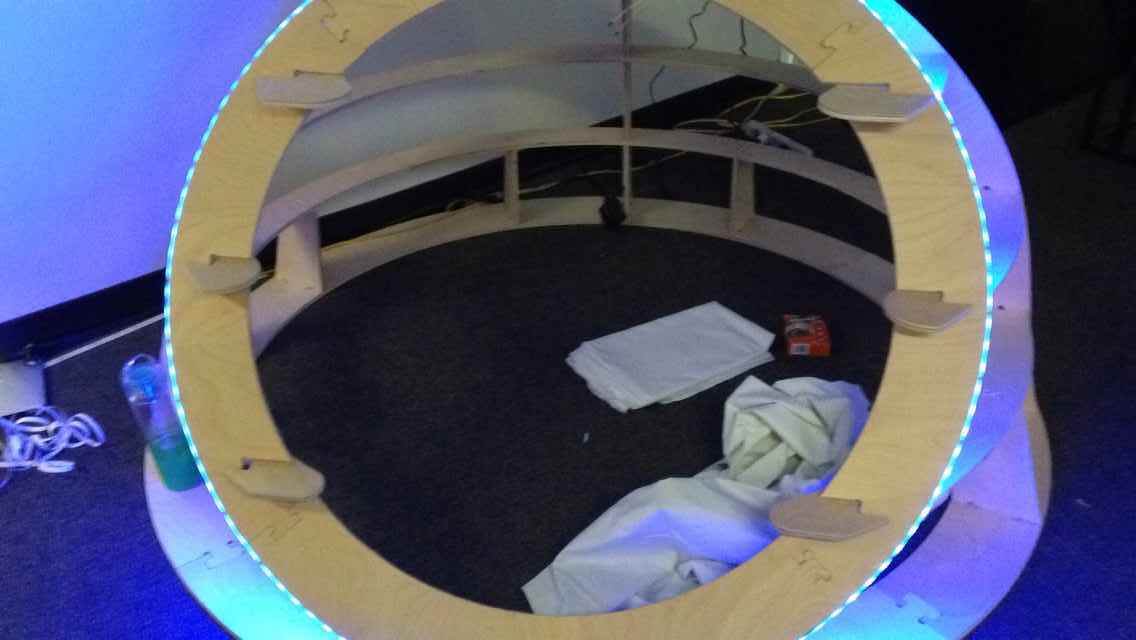
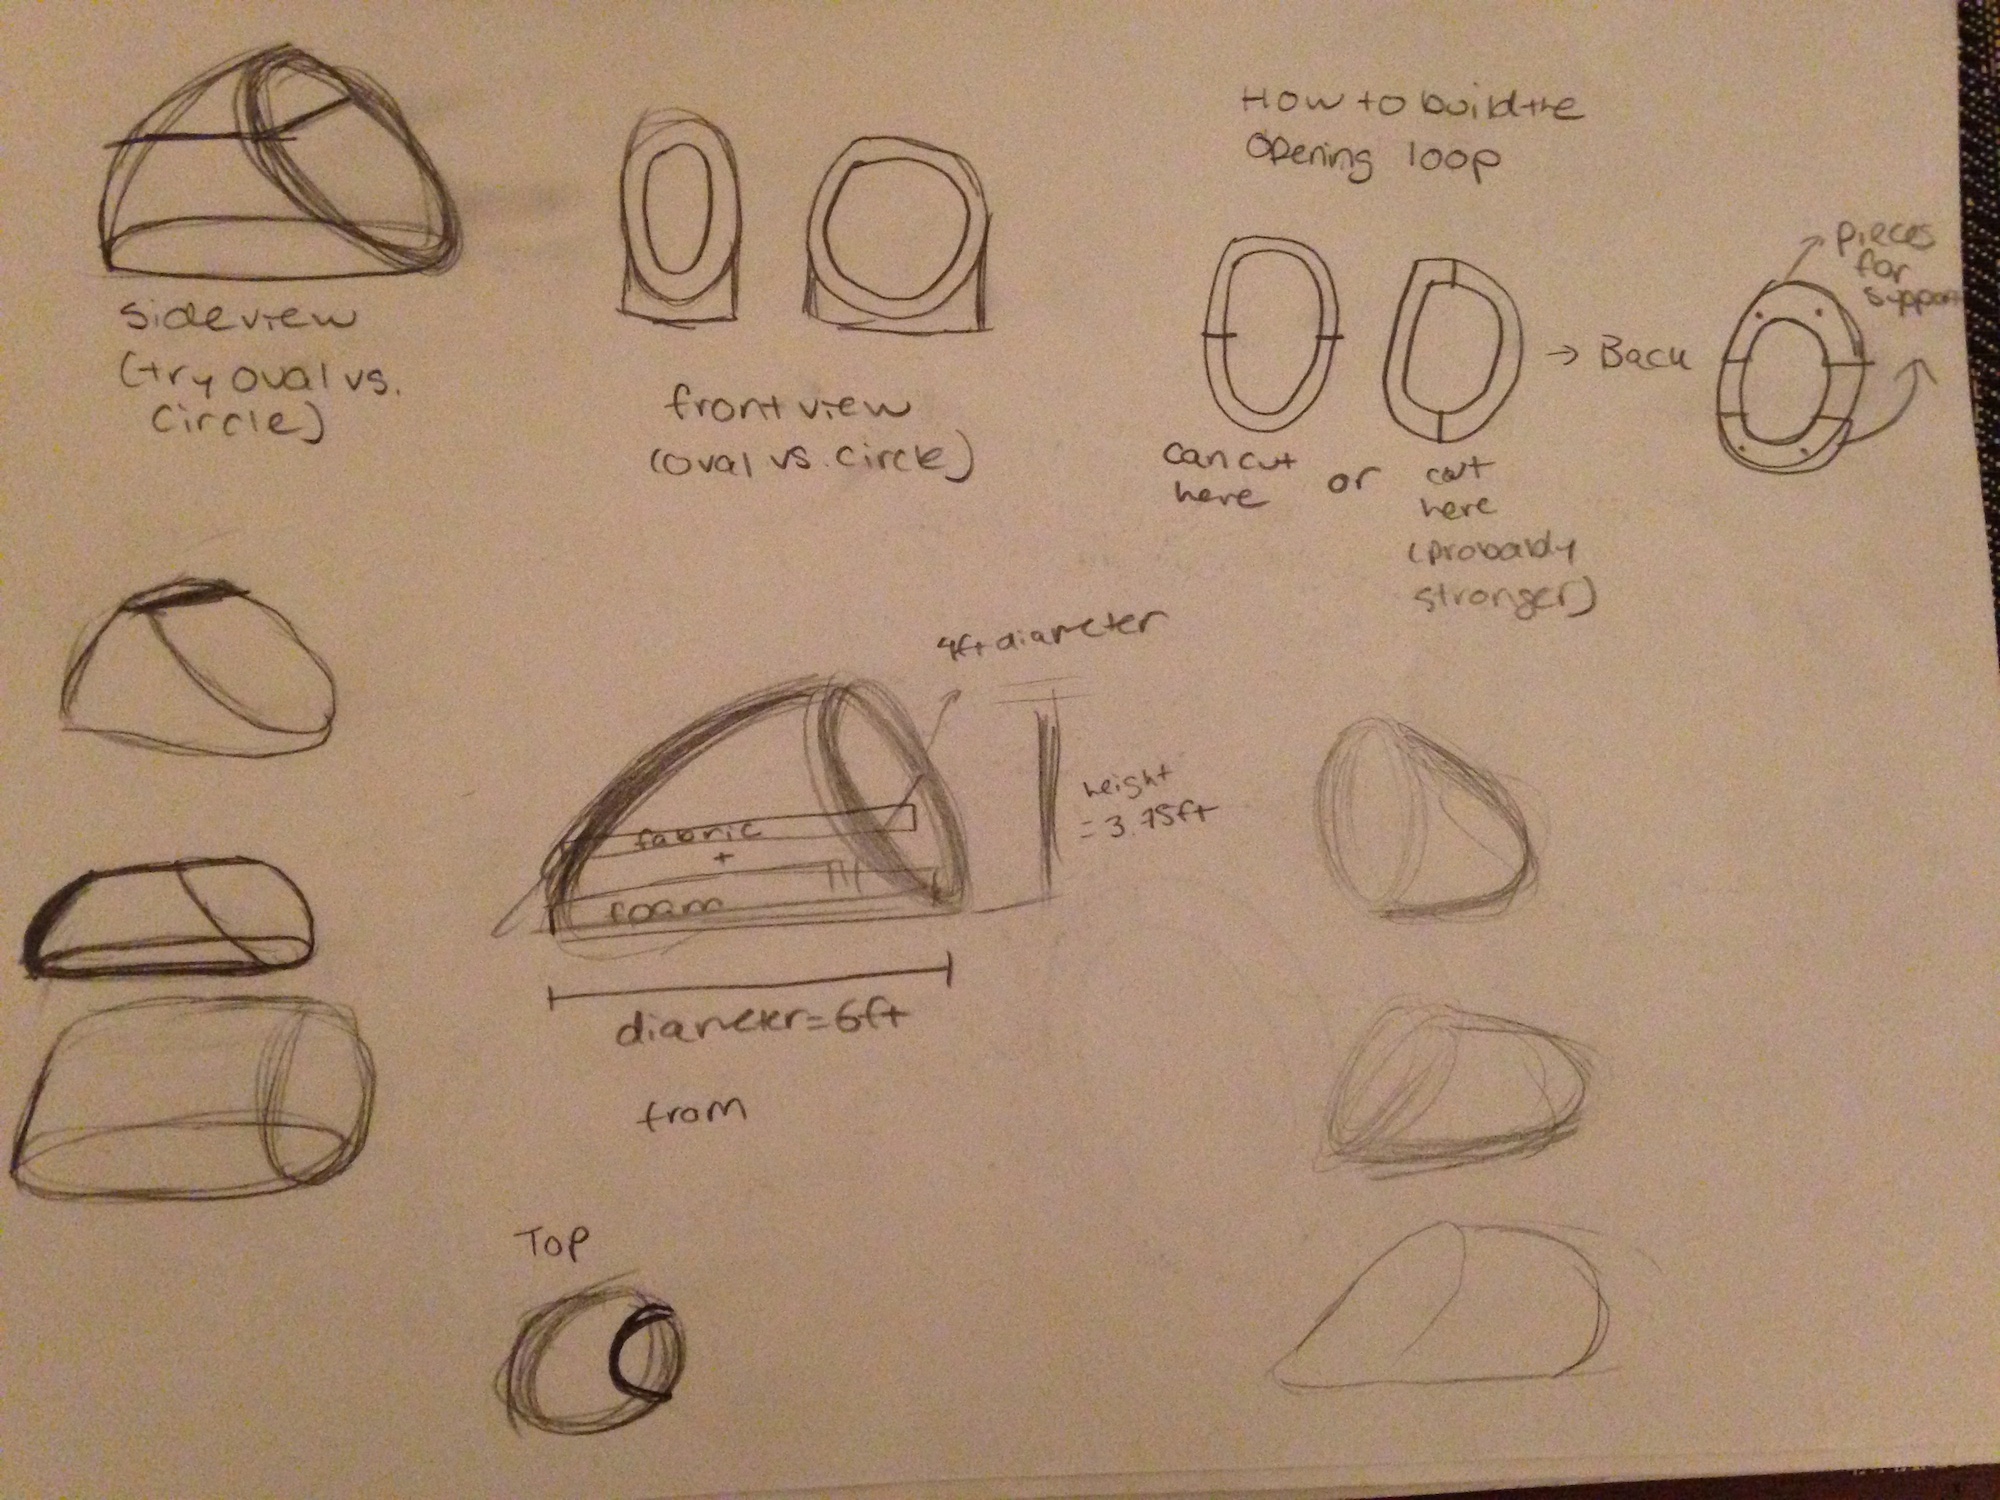
As part of the Wellbeing Initiative, Ermal Dreshaj (one of my groupmates) and I set about creating a structure that would allow users to relax during the day. My exisiting design is a bit smaller than an ideal final version would be, but for the first prototype, I created a press-fit hemispherical structure using birch, creating a foam cushion for the bottom, and used a string of LEDs that respond to a proximity sensor to indicate when the pod is in use (magenta_ versus when it is available (white). Here is an example of it in action. The inner diameter is five feet, and it stands at about 3 feet tall. It is able to accomodate someone sitting, but not standing.
.jpg)


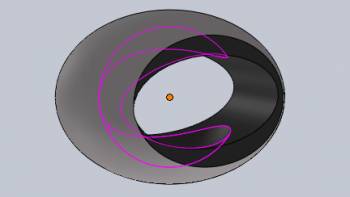
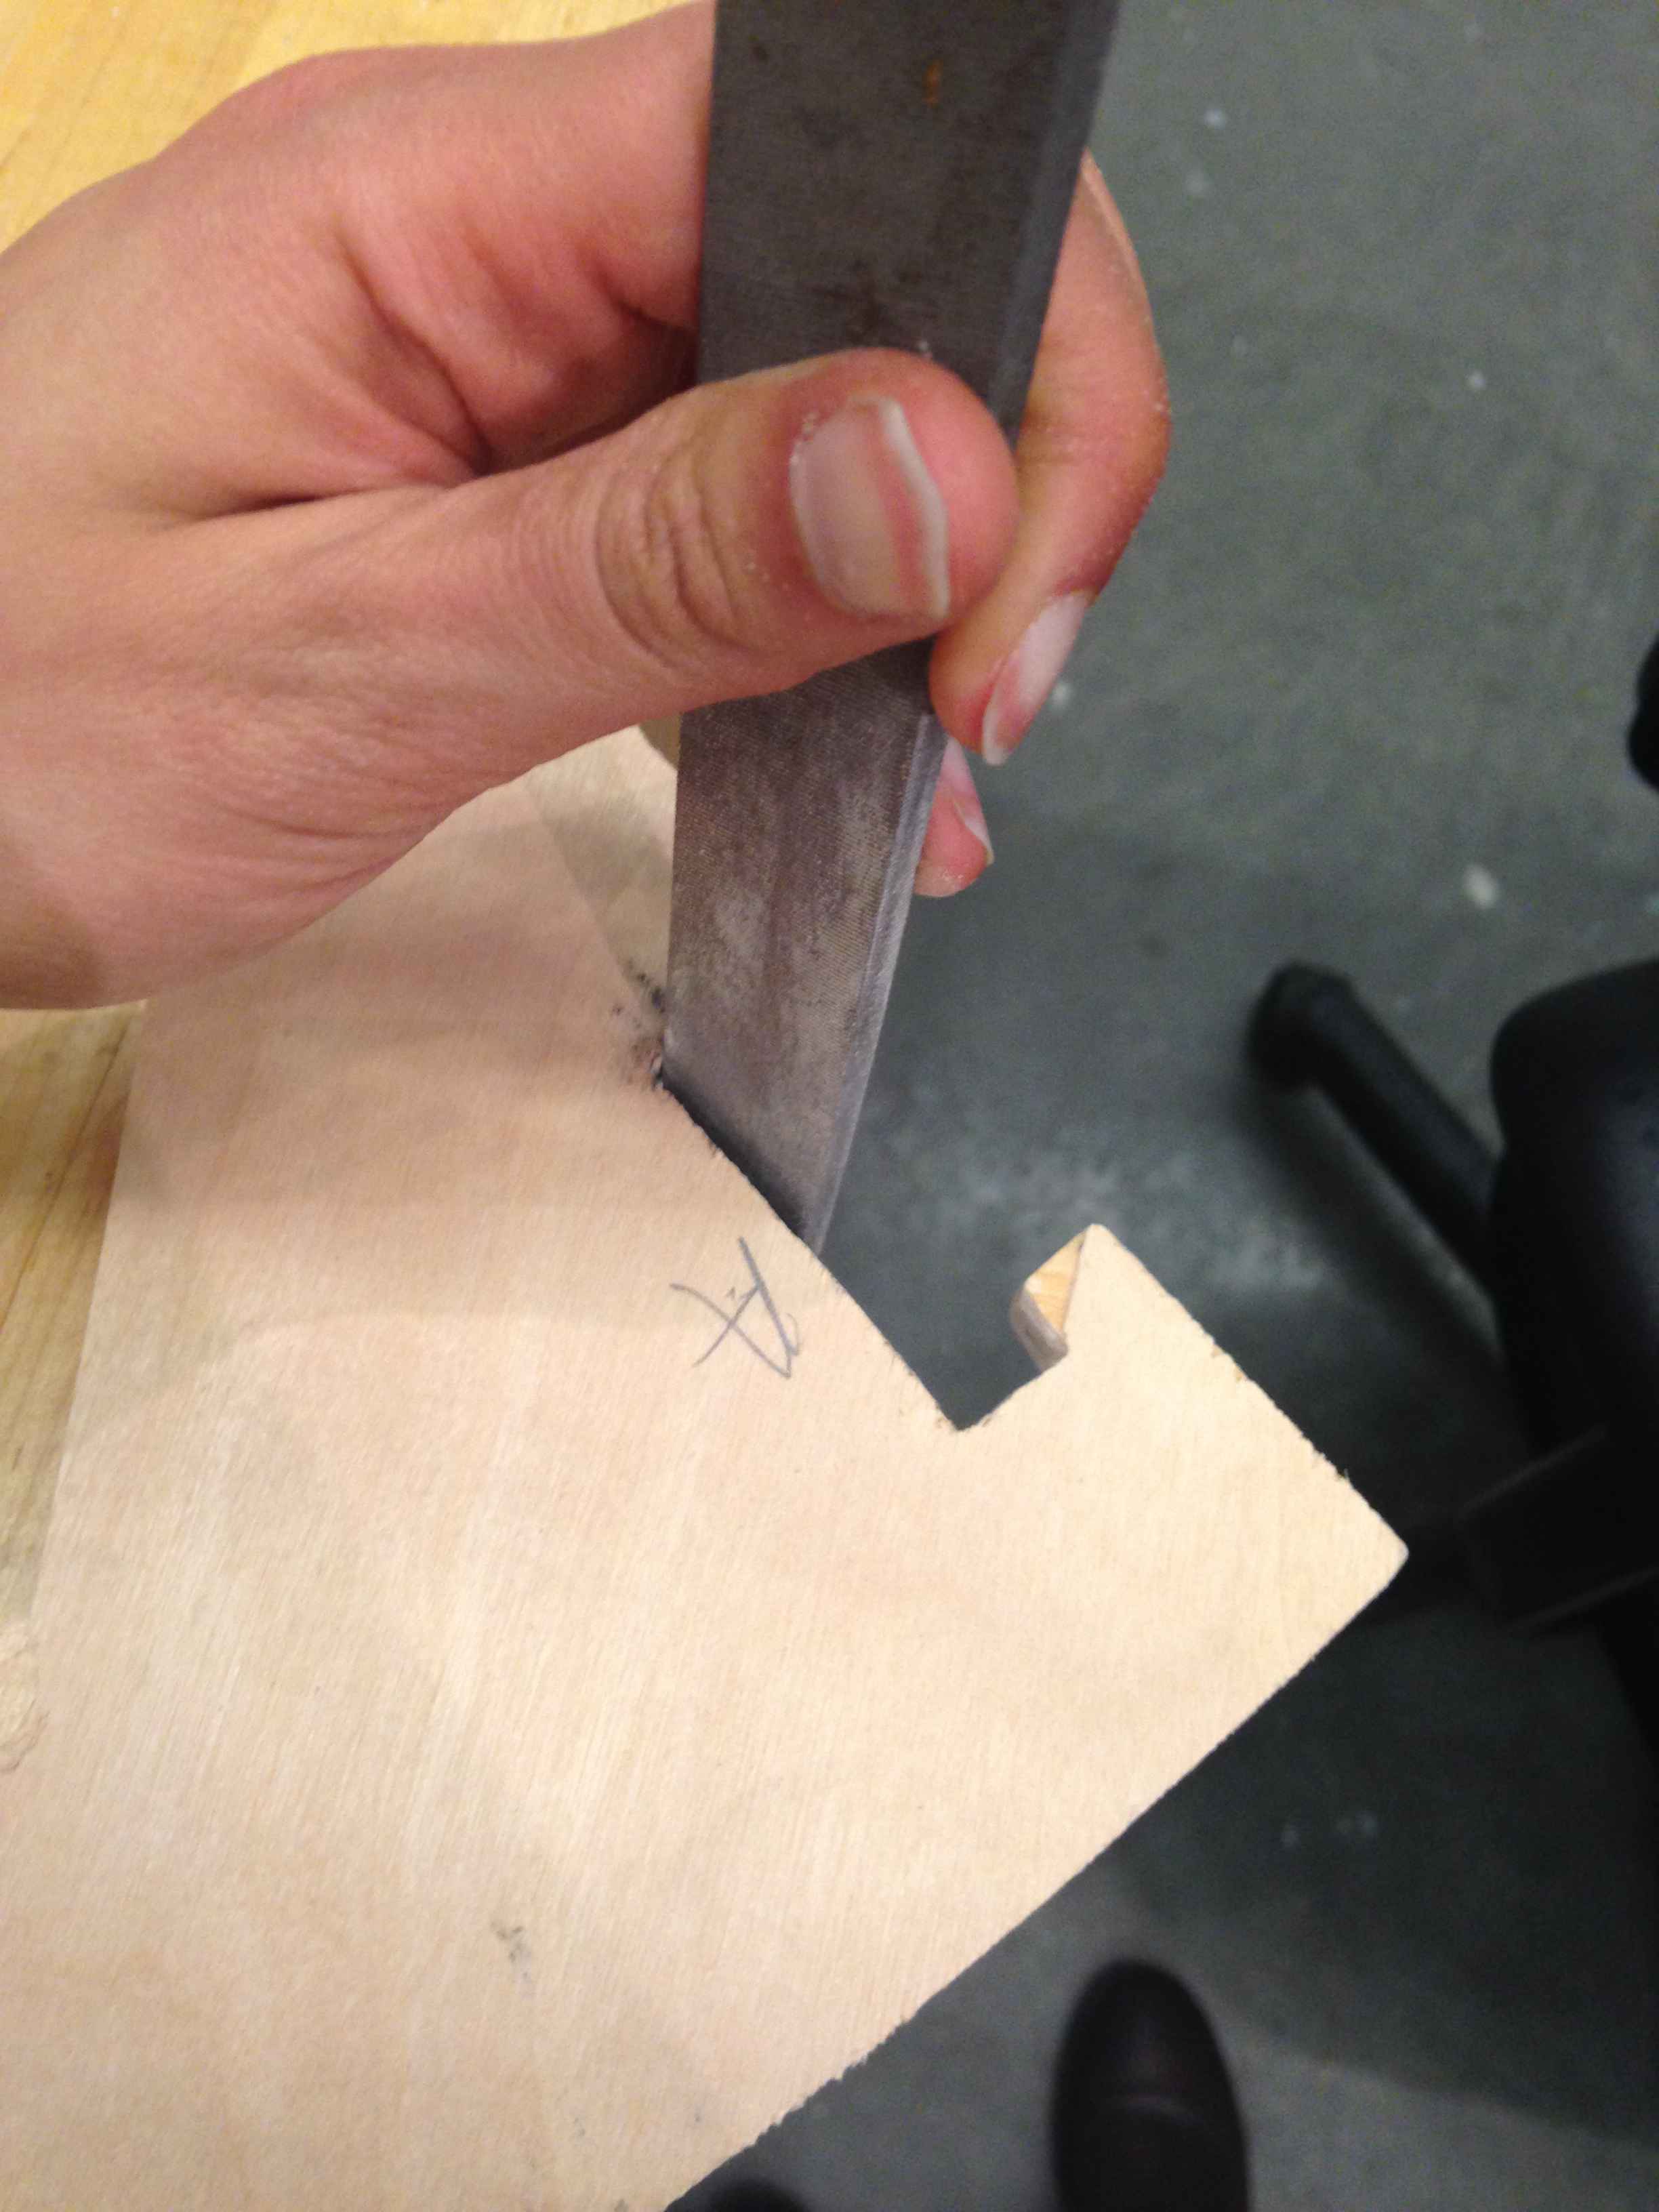
The structure was created using a parametric design in SolidWorks. The design is intended to be completely scalable. I created a small model out of 1/8" birch that is about 8" in inner diameter to prove that the structure is robust even when rescaled.
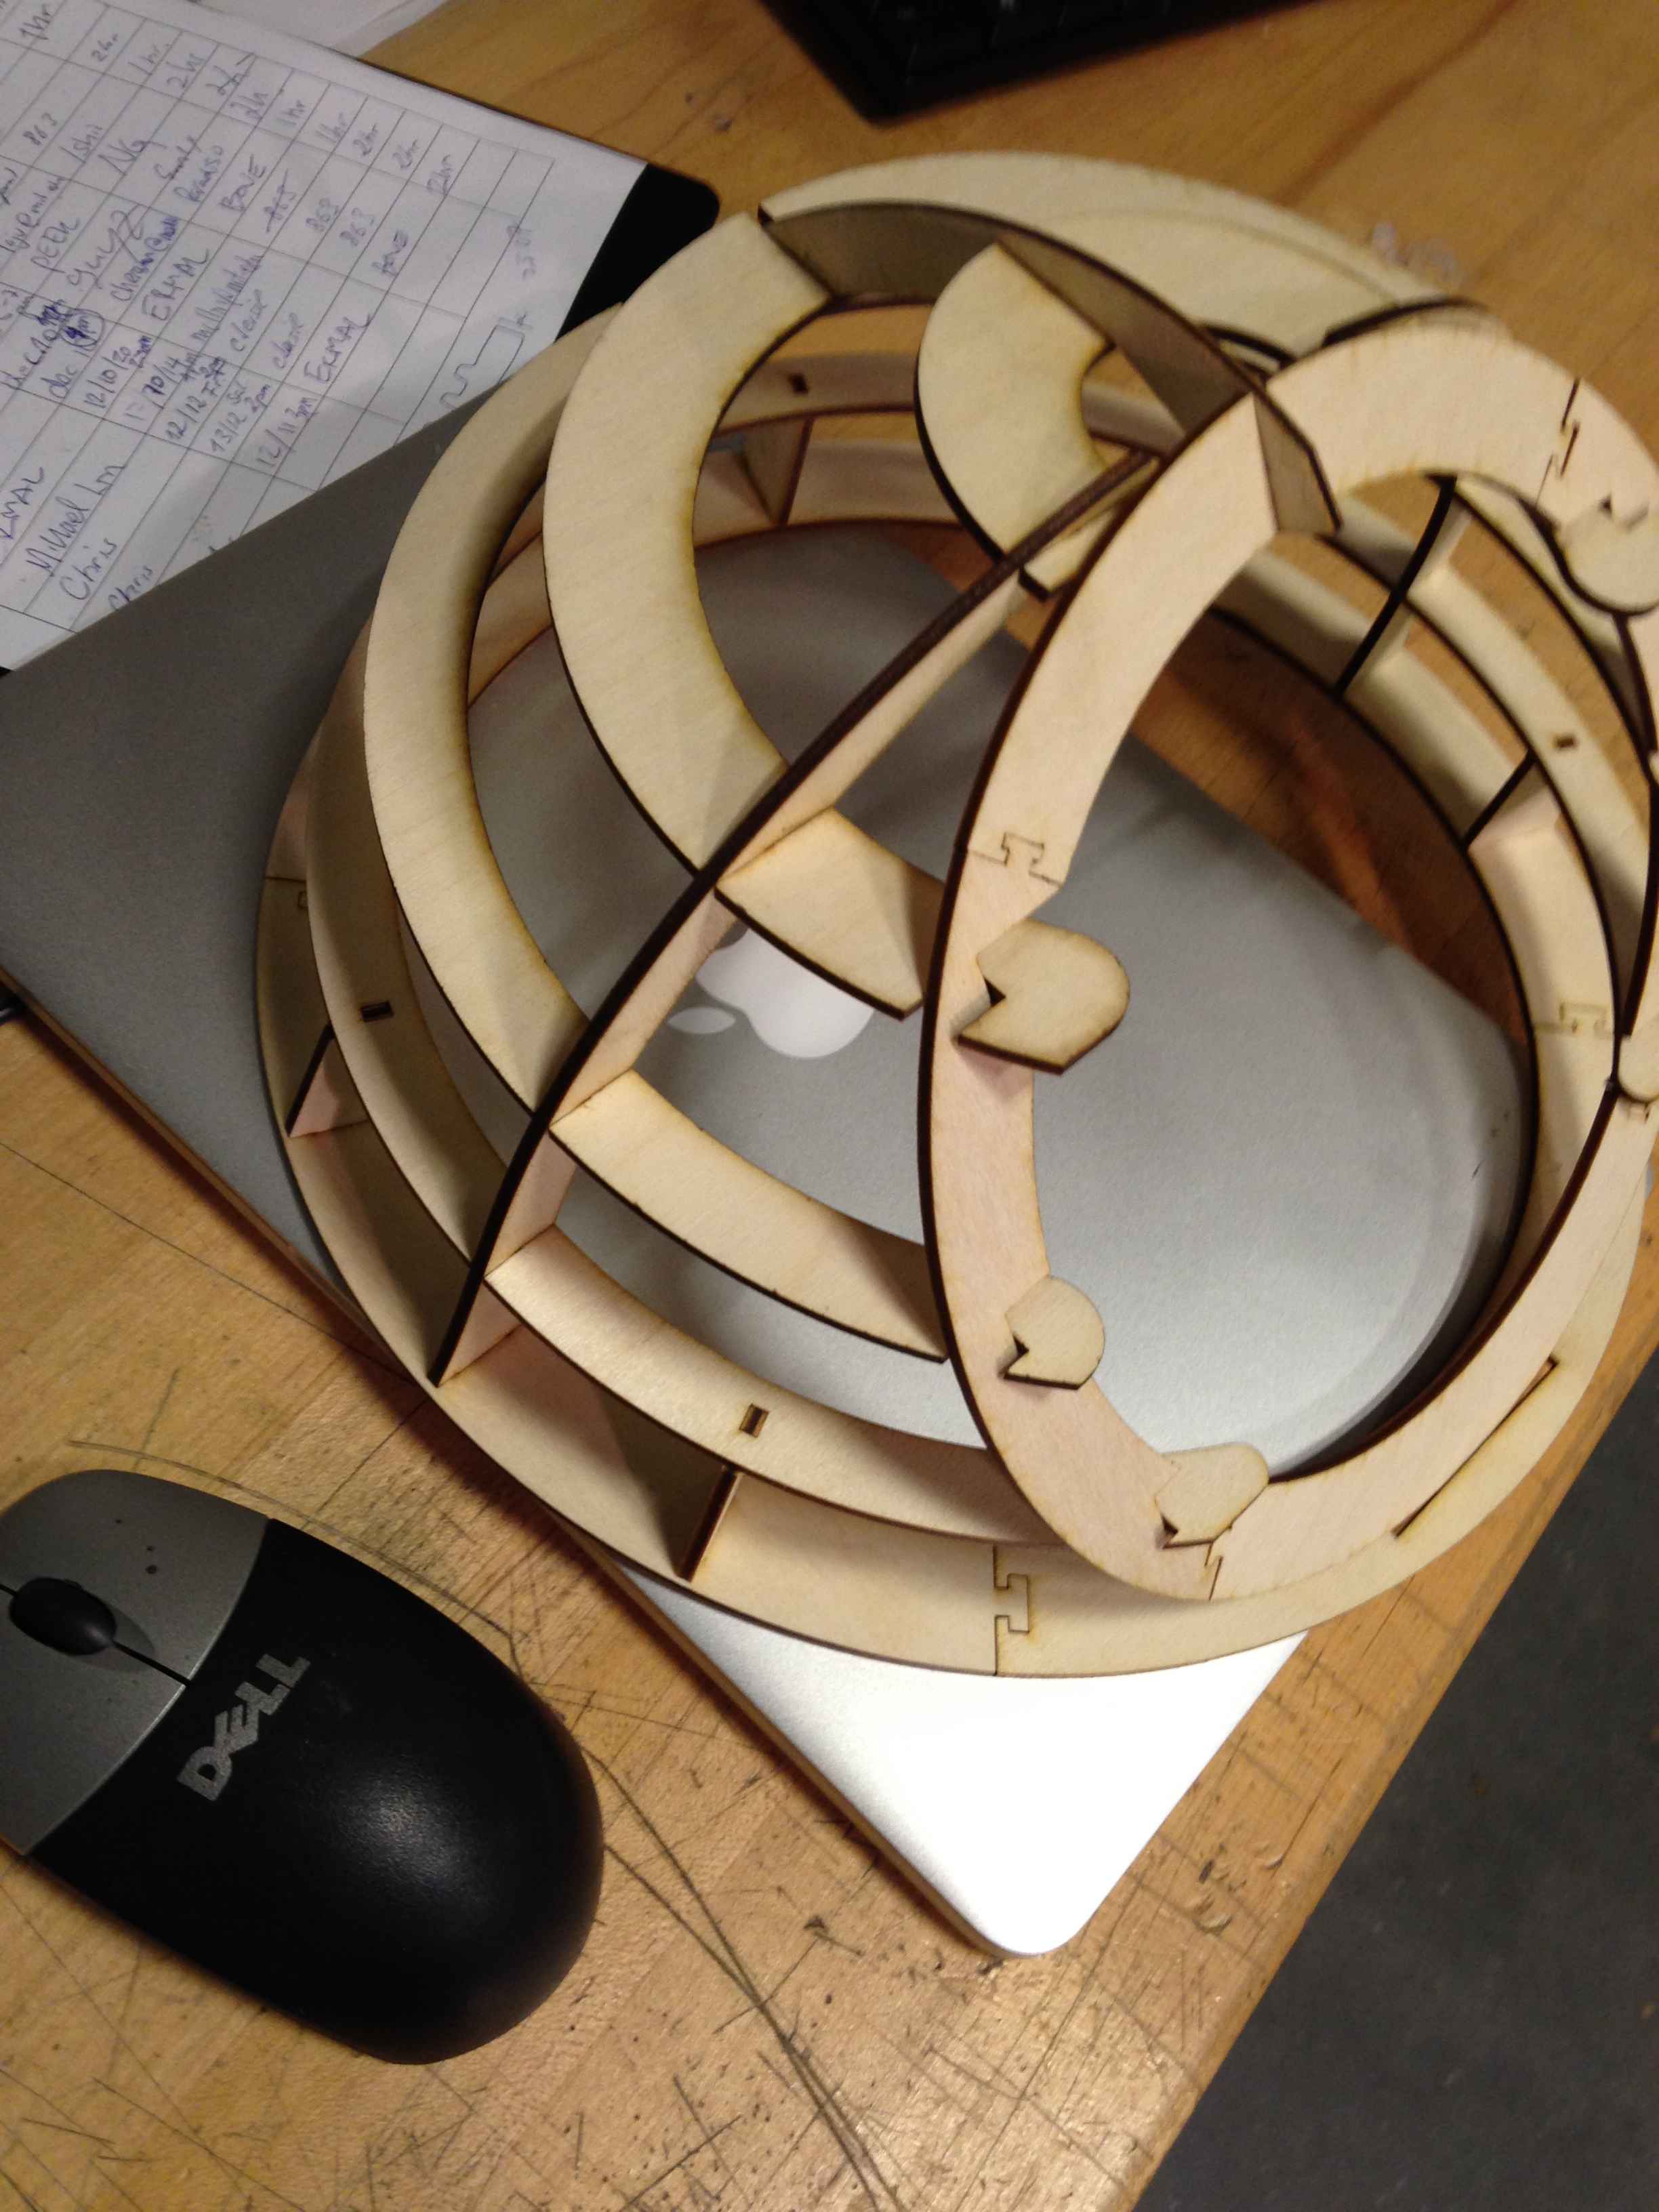
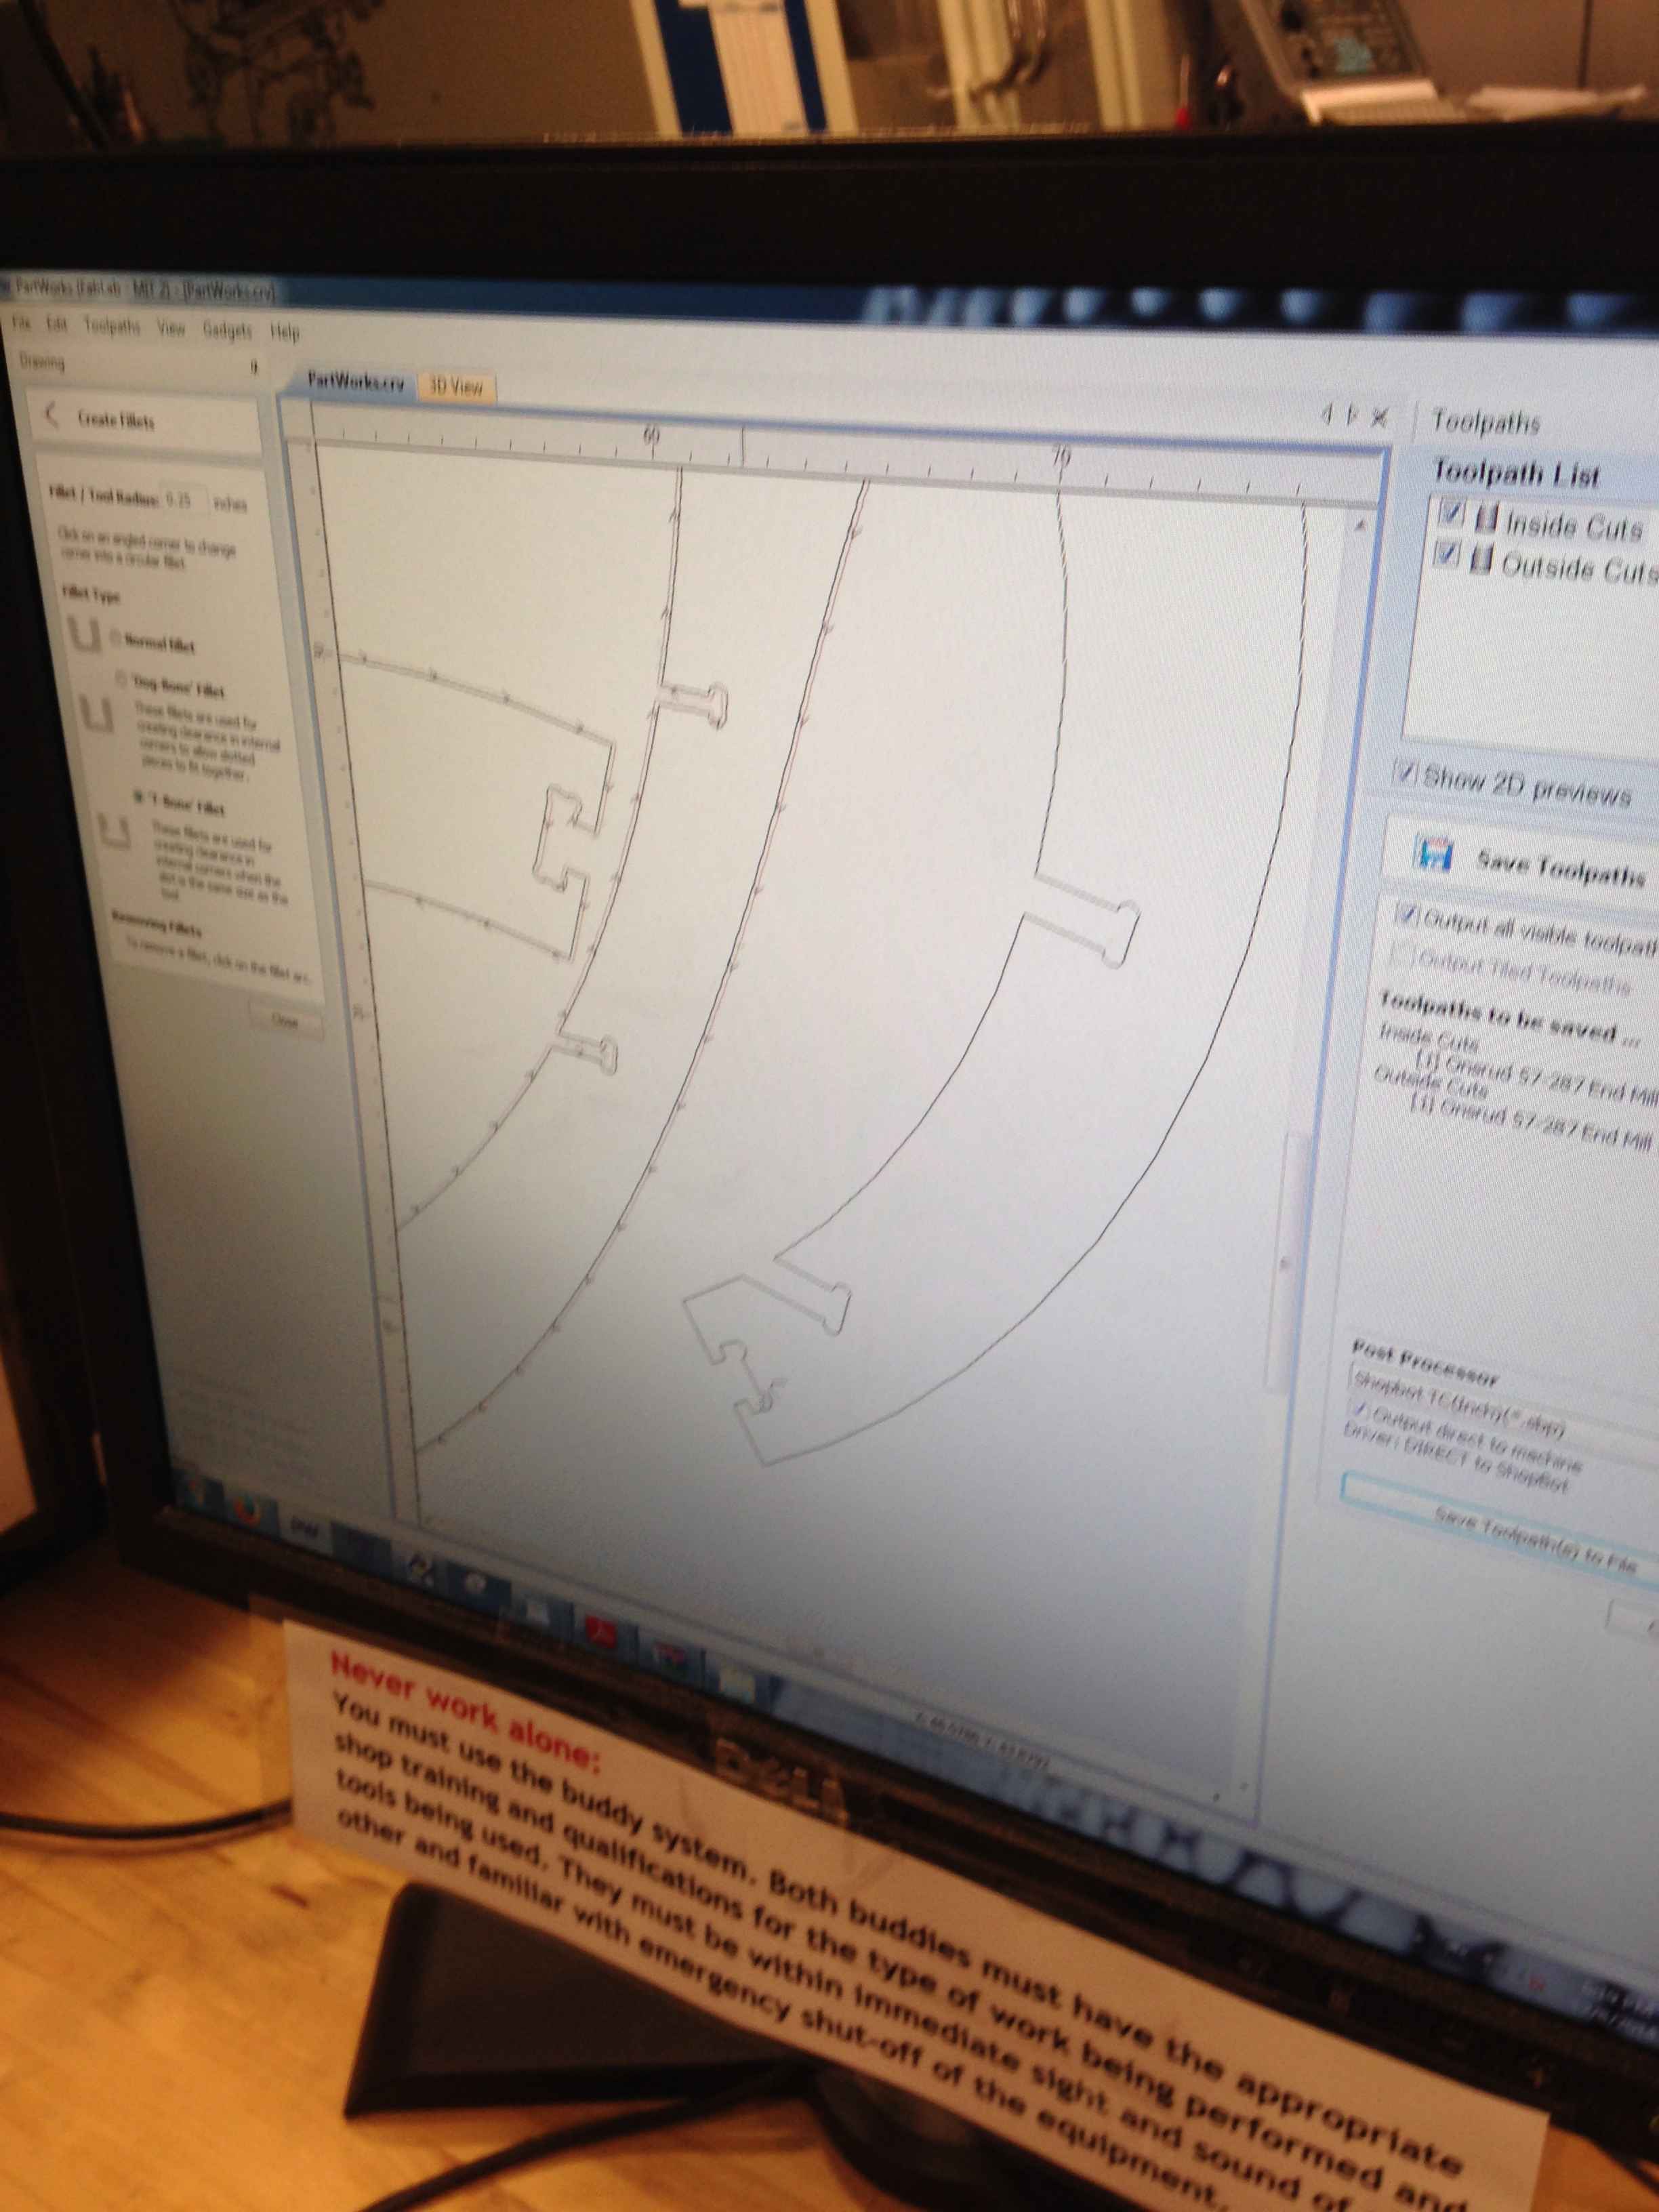
The ShopBot was used to CNC the pieces for the full-sized version. (See it here. ) and it came together in a press-fit design. Initially, some of the connections did not work, but after sanding down some pieces, everything fit together well. it was even robust enough to move to various locations, including up to the 6th floor. It also withstood the test of various babies crawling on it during the open house.
The number of test cuts it took to get the fit right:

.jpg)

Trying to pack pieces in closely:


.jpg)
Electronics
In the input and output device weeks, I was able to get a functioning proximity sensor. Check it out here.
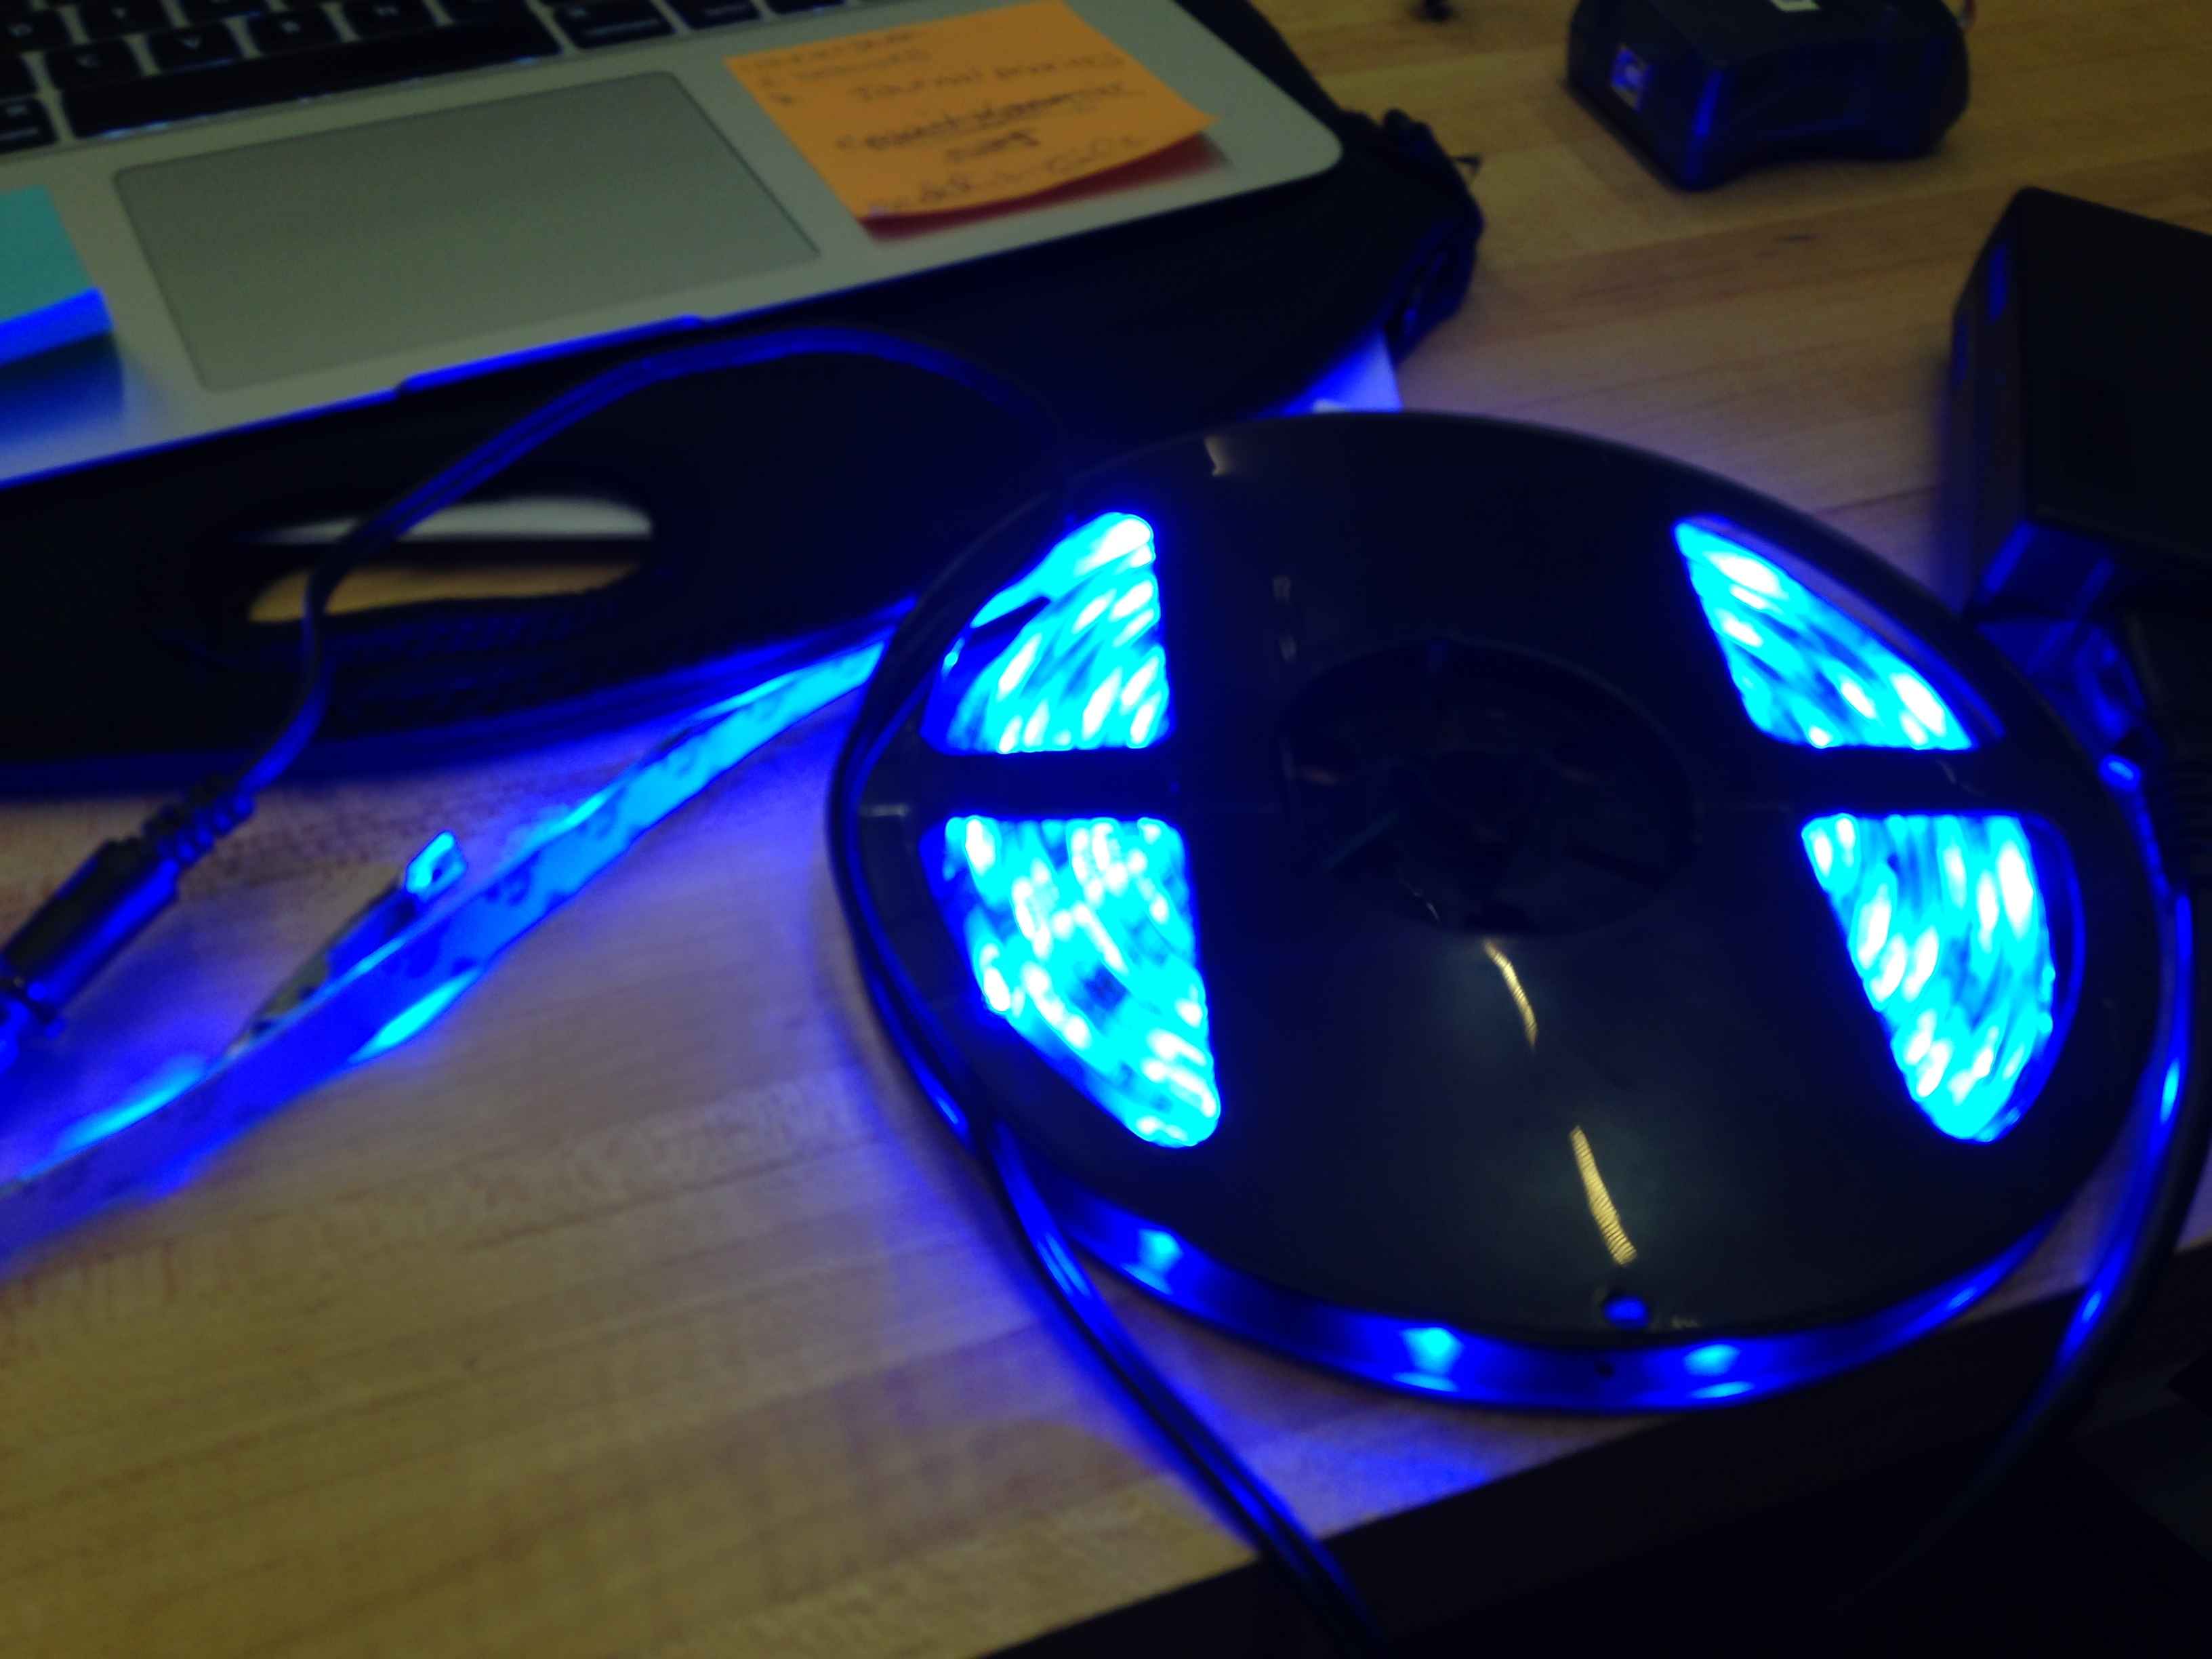
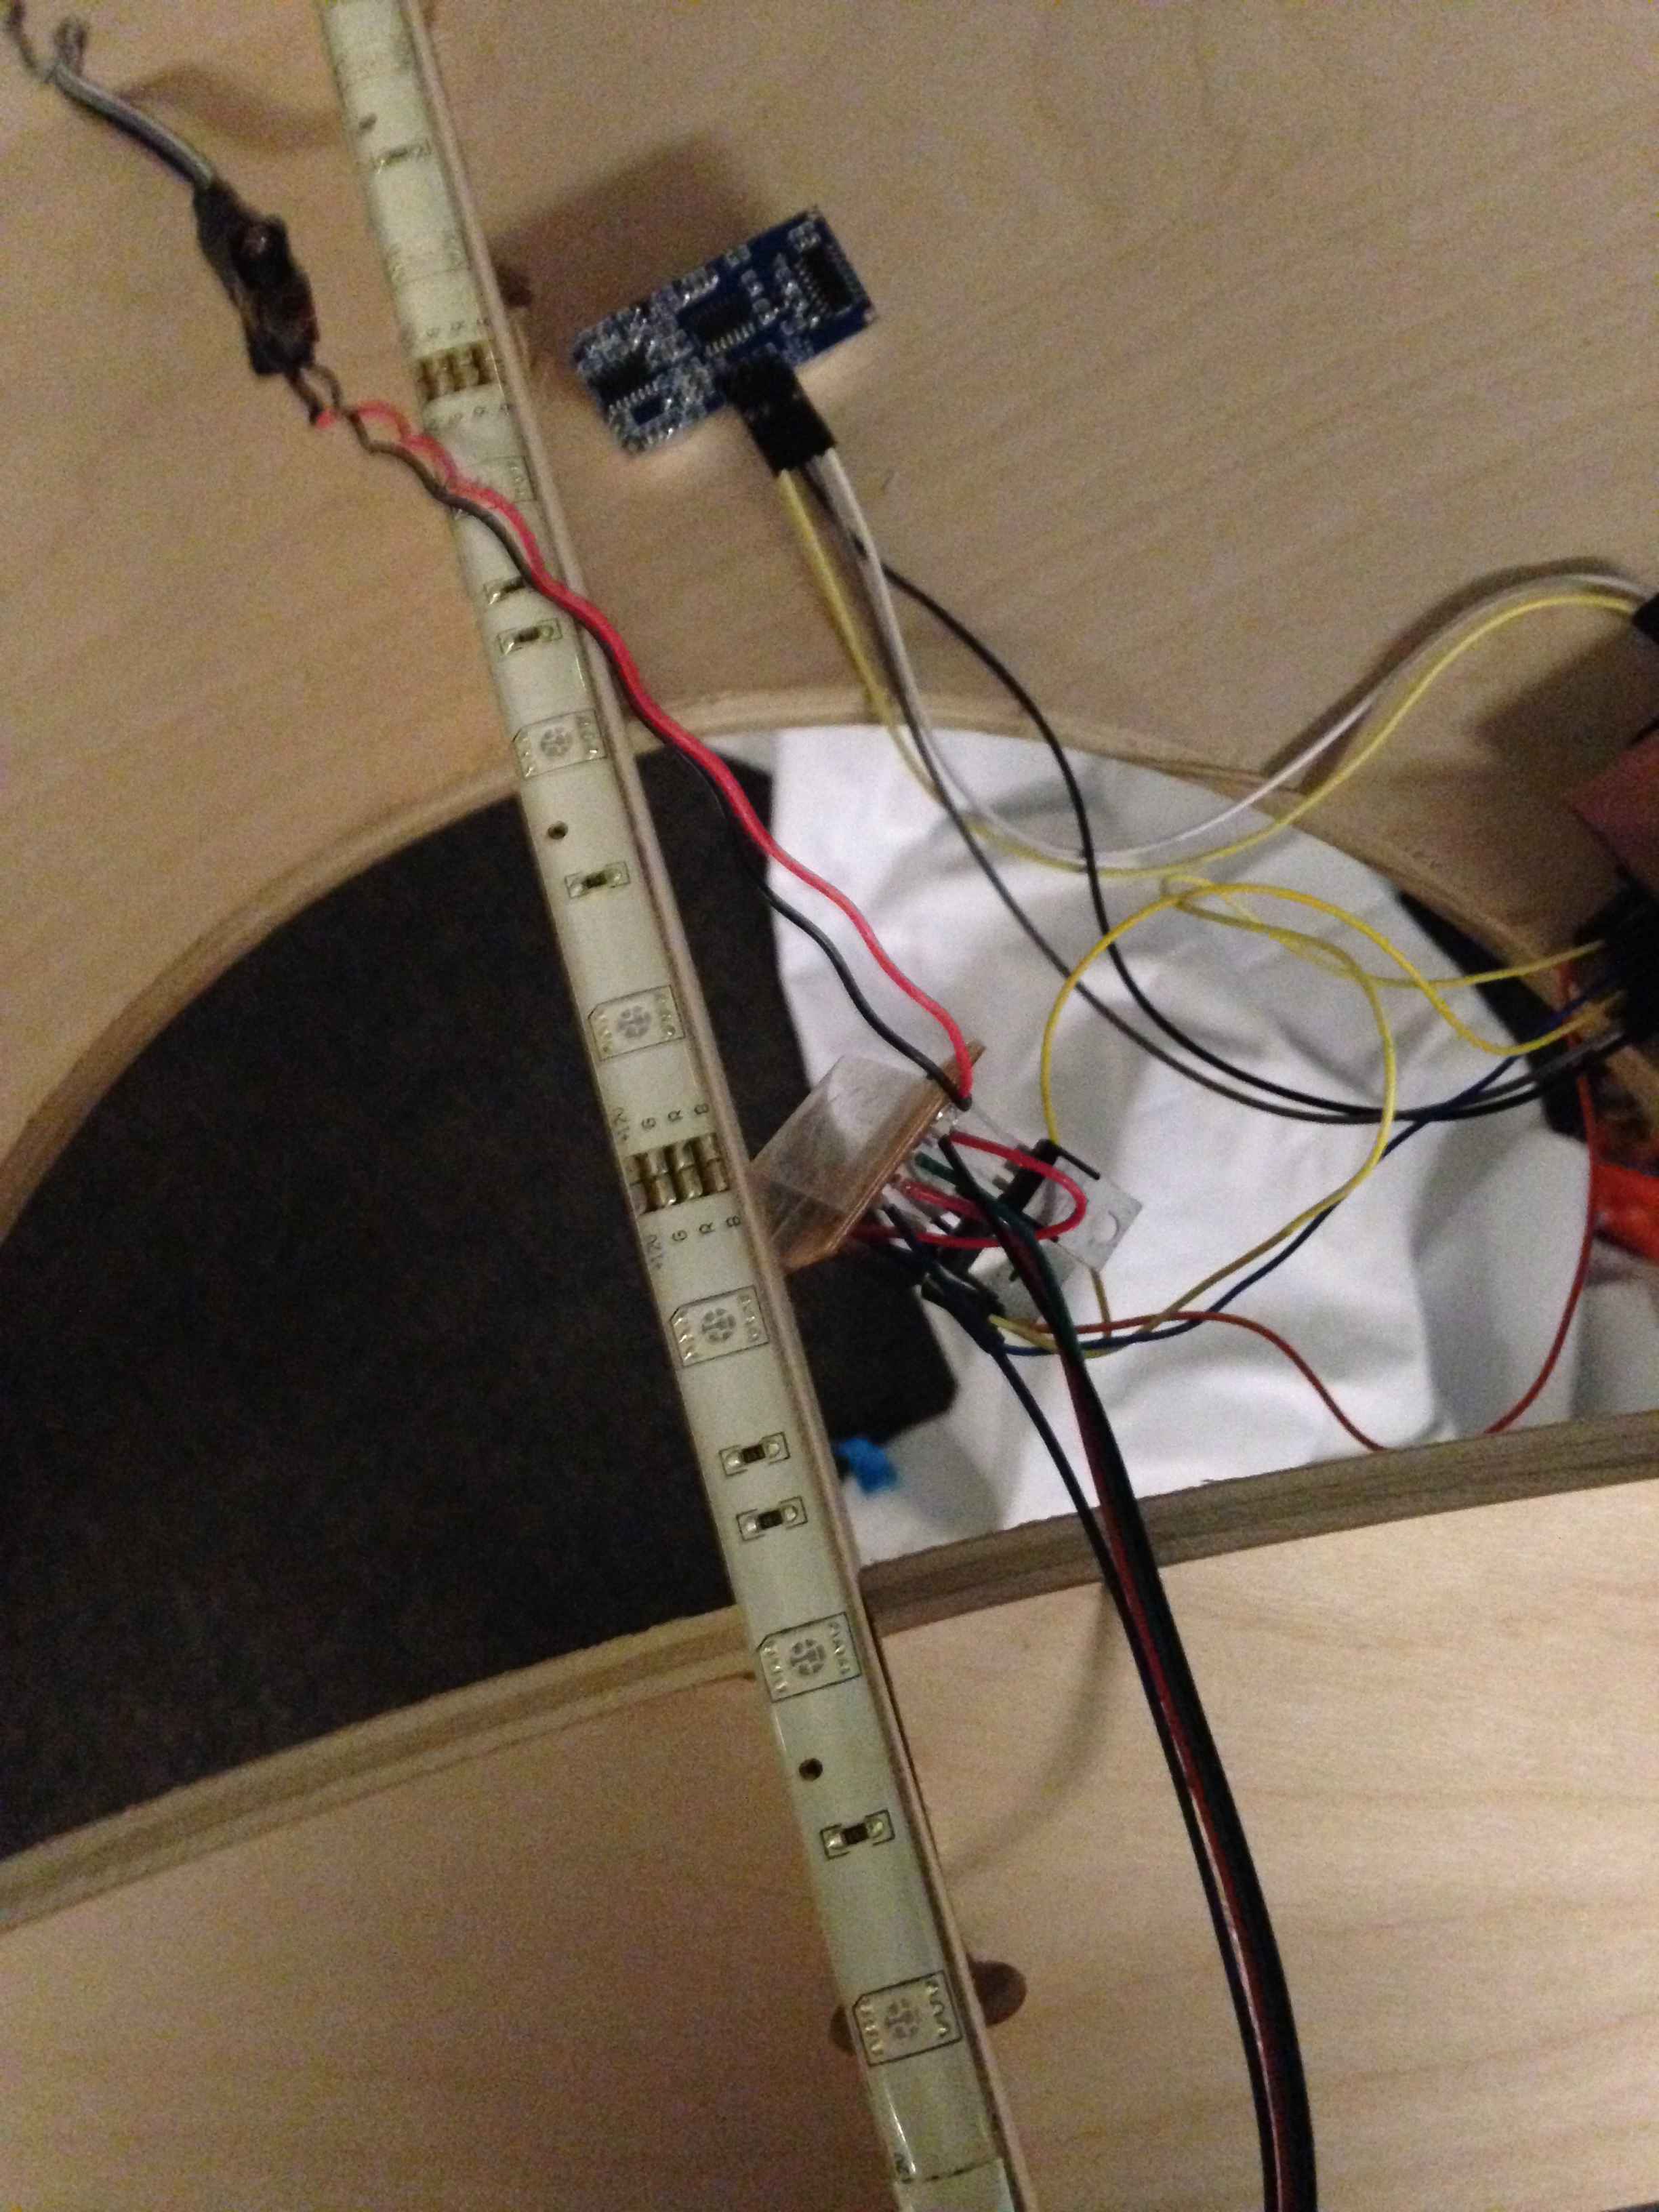
For this week, calibrating the proximity sensor took much more work as I needed it to be accurate within specific ranges. Like last time, I used the Arduino IDE to program the board, and I used a fabduino to connect with the computer. Complications arose because the LEDs required a 12V external power supply, so I needed to learn how to use MOSFETs.

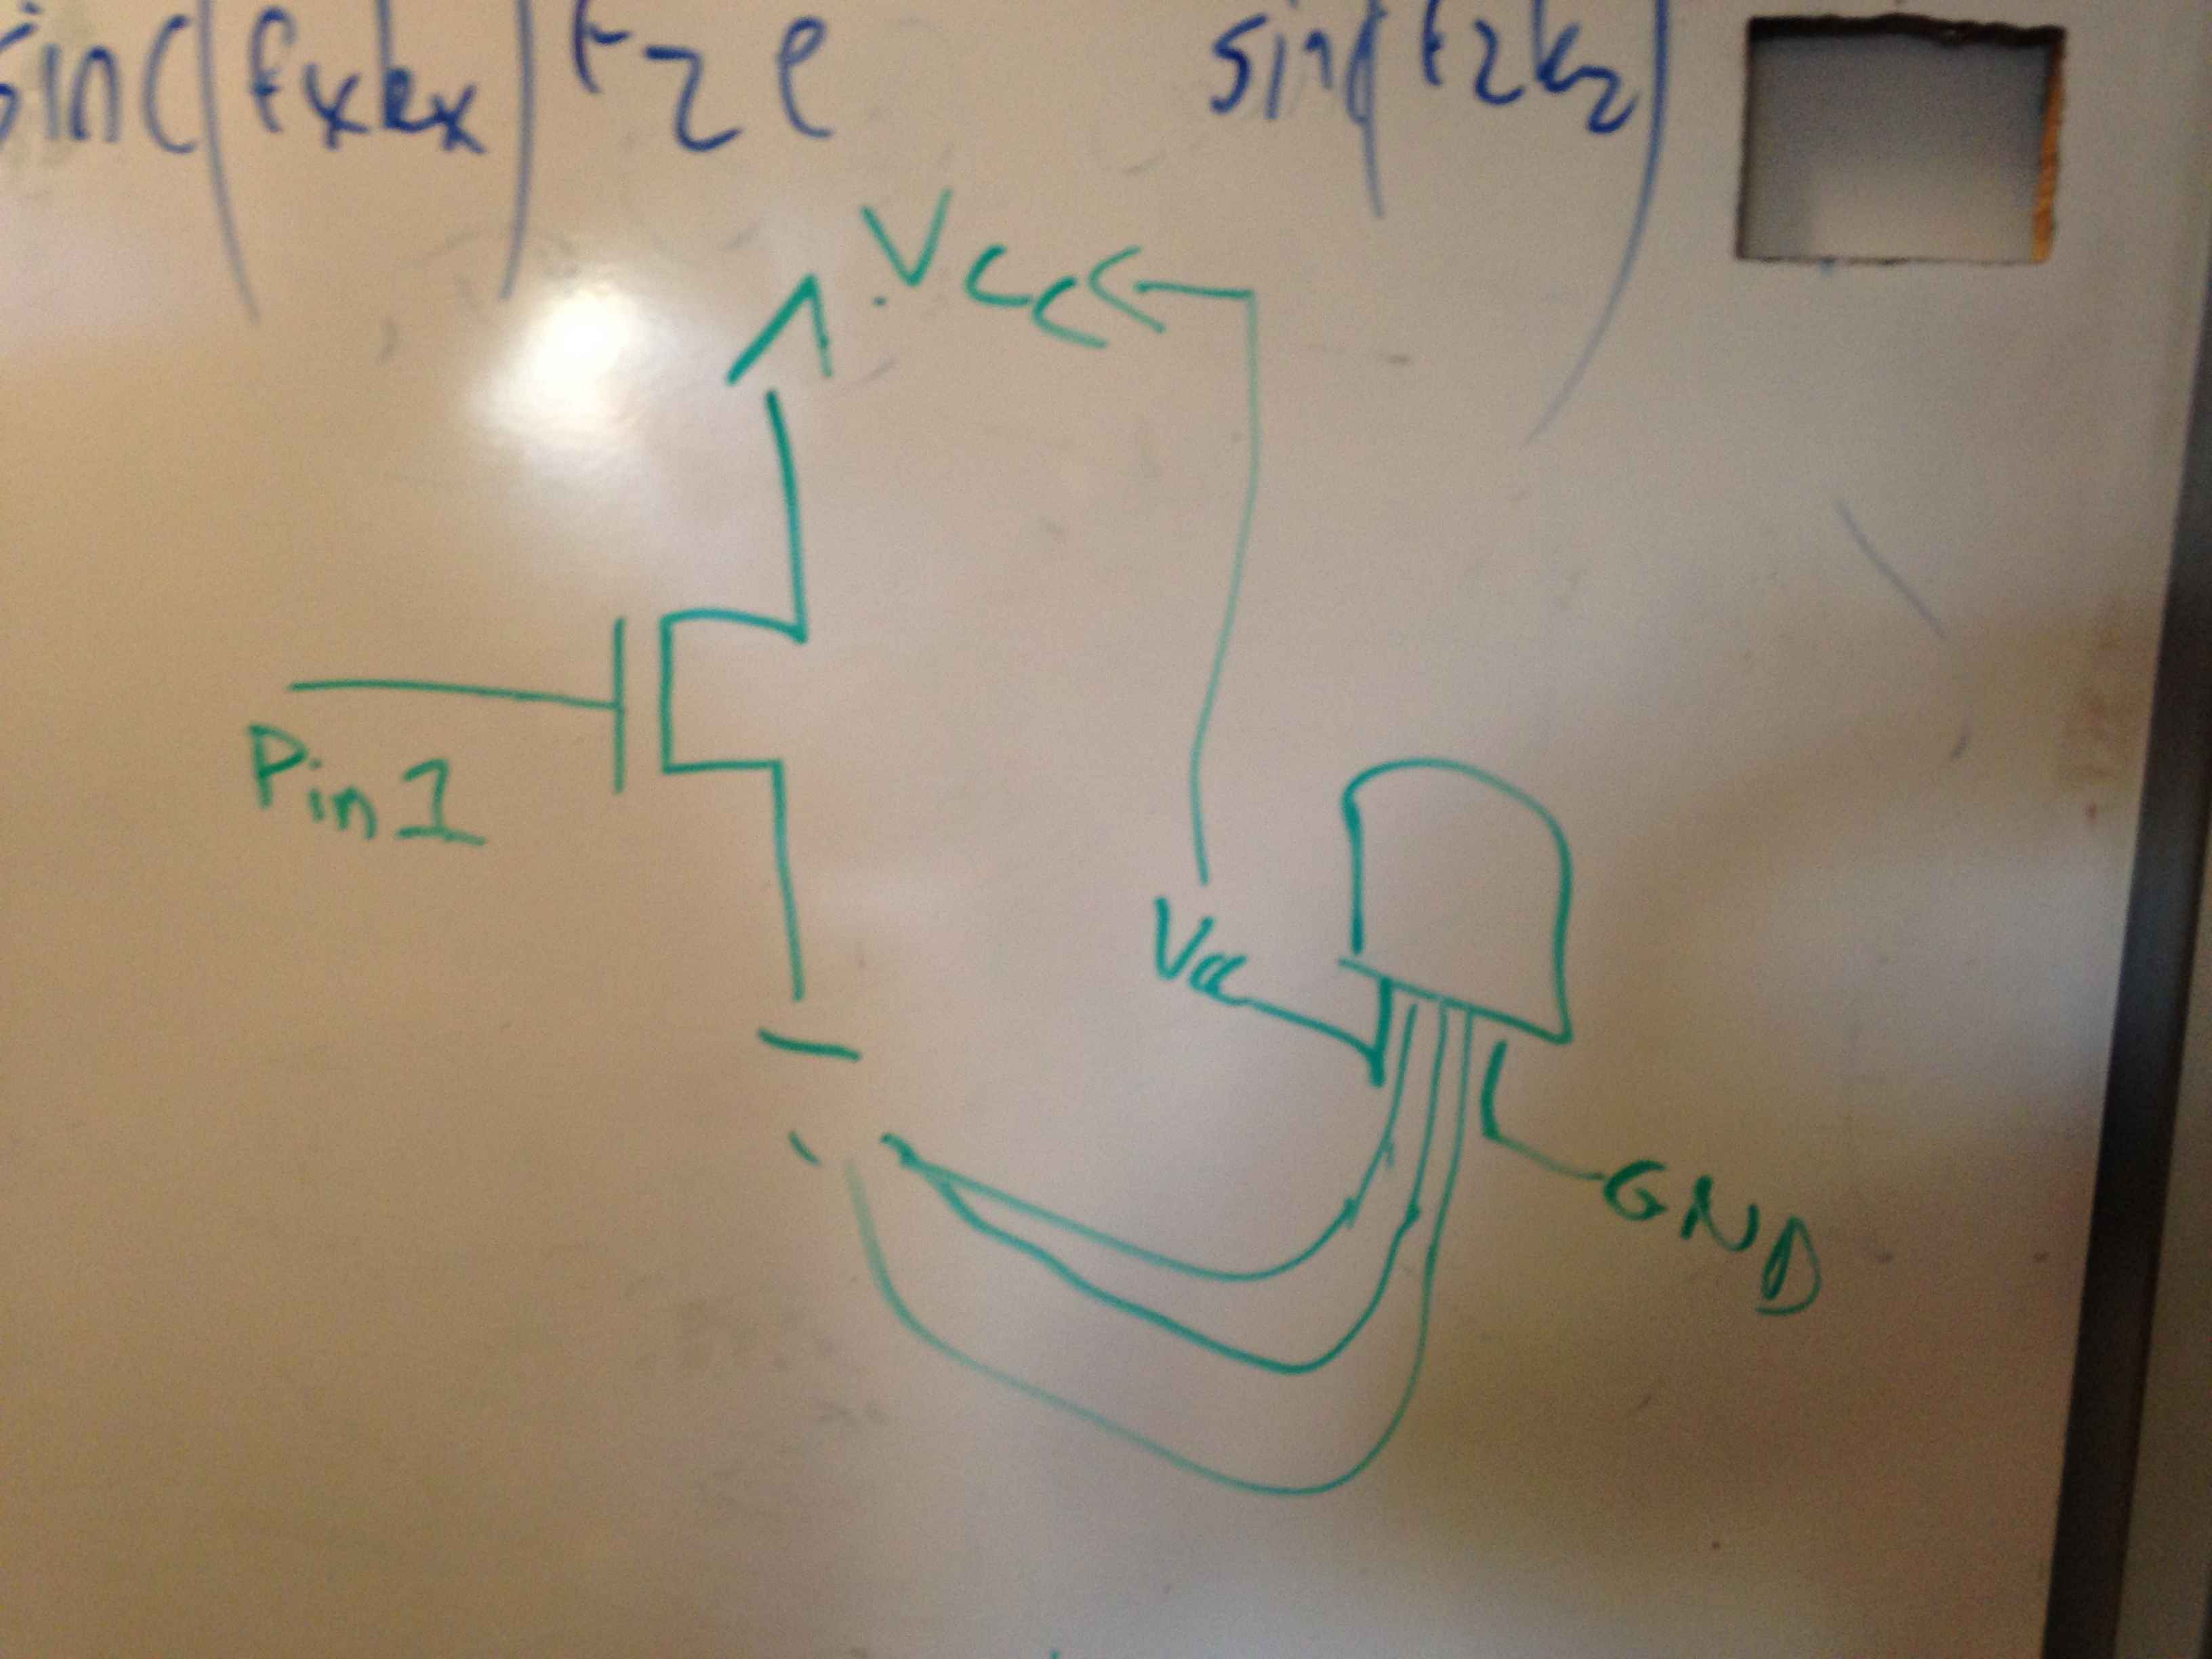
I ultimately was able to use n-channel MOSFETs to achieve the desired effect: when the Fabduino pin is set to high, it opens the gate, and the 5V signal allows the full external 12V to flow through. It took me numerous tries to understand and figure out how to wire this up correctly. My process was as follows:
1. Figure out if the LED strip worked in analog form and understand the mechanism(here).
2. Use a breadboard and MOSFETs to control the LEDs using an Arduino Uno board. I made it blink as a basic test. See it here.
3. Try the proximity sensor code and edit it accordingly to work with the LEDs.See it here.
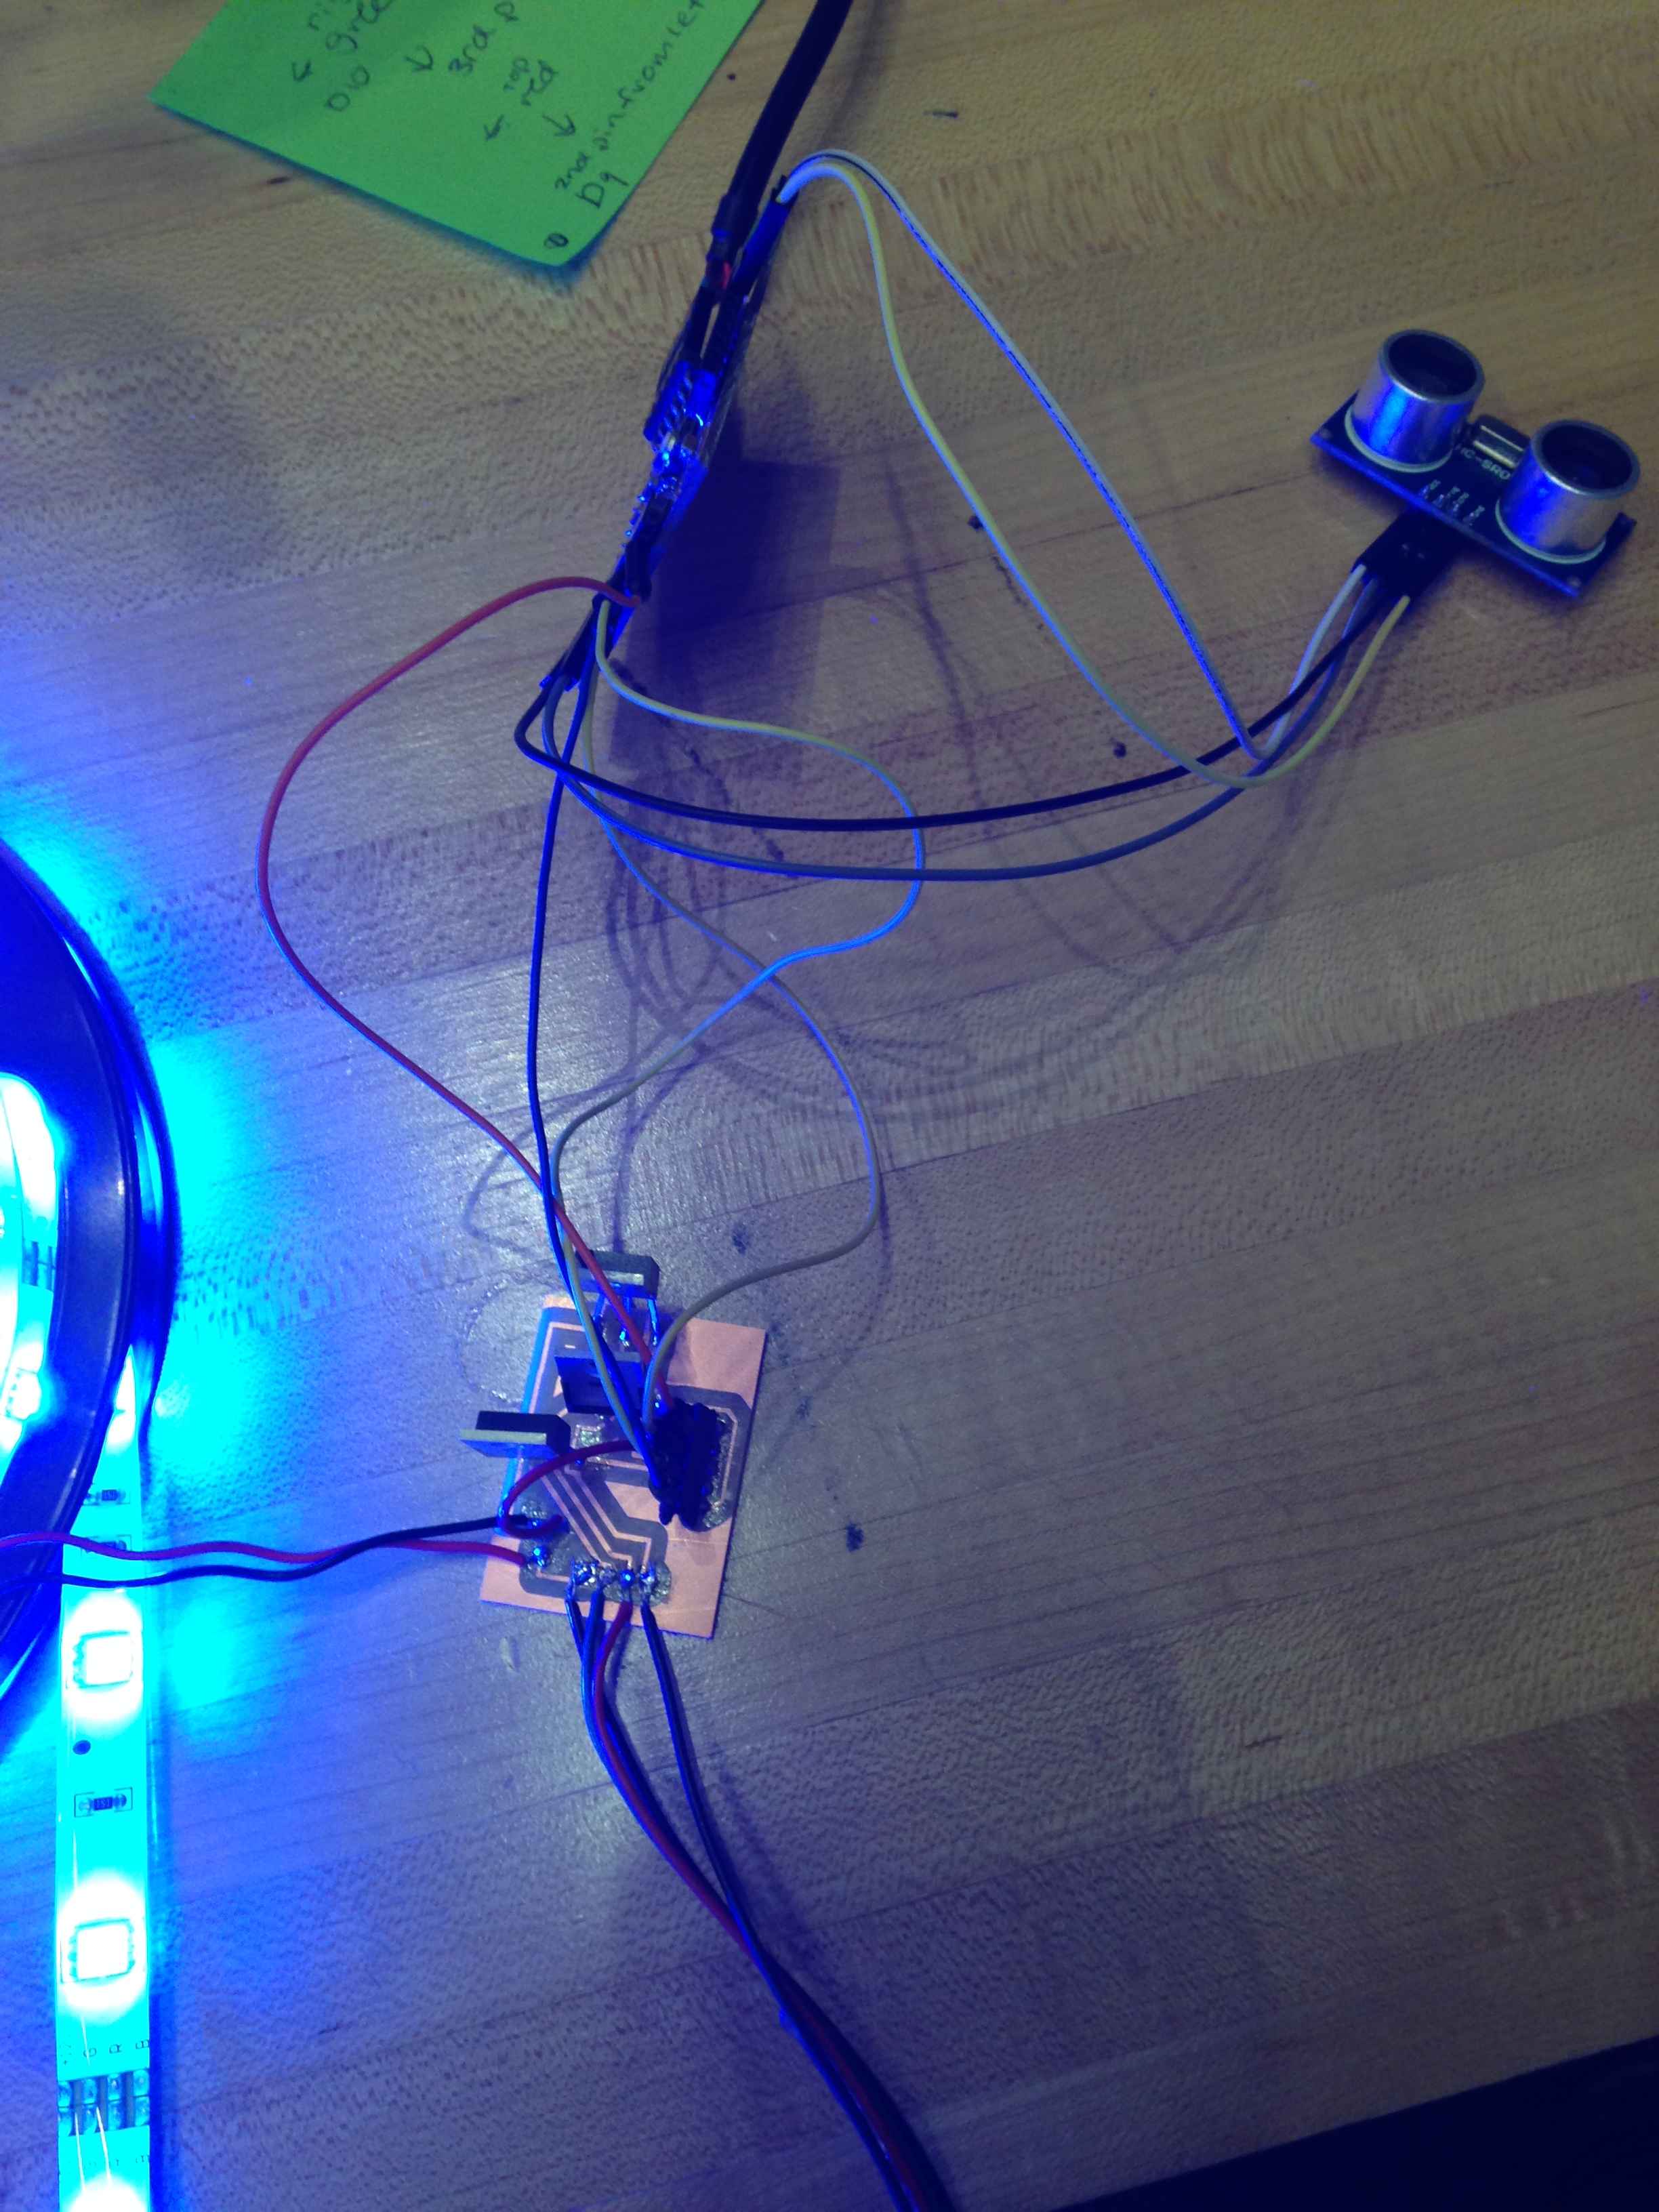
4. Mill a breakout board to attach the MOSFETs and LED connections instead of using the breadboard. This took numerous attempts as I was trying to surface mount pieces that are not made for that purpose, so I had to make my own components and I had a lot of trouble connecting things.
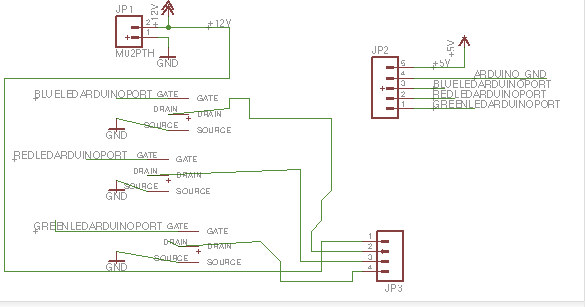


Here is a picture of how not to make a circuit. It works, but I would not recommend this method.

5. Make LEDs blink using an Arduino Uno and the milled board.
6. Make proximity sensor code with an Arduino Uno and the milled board.
7. Switch to a fabduino and edit code to calibrate for the space.
8. Play around with the colors.
.jpg)
Renders of the parametric SolidWorks model


-compressed.jpg)
-compressed.jpg)
-compressed.jpg)
-compressed.jpg)
-compressed.jpg)
-compressed.jpg)
-compressed.jpg)
-compressed.jpg)
-compressed.jpg)
-compressed.jpg)
-compressed.jpg)
-compressed.jpg)
-compressed.jpg)


Going Forward
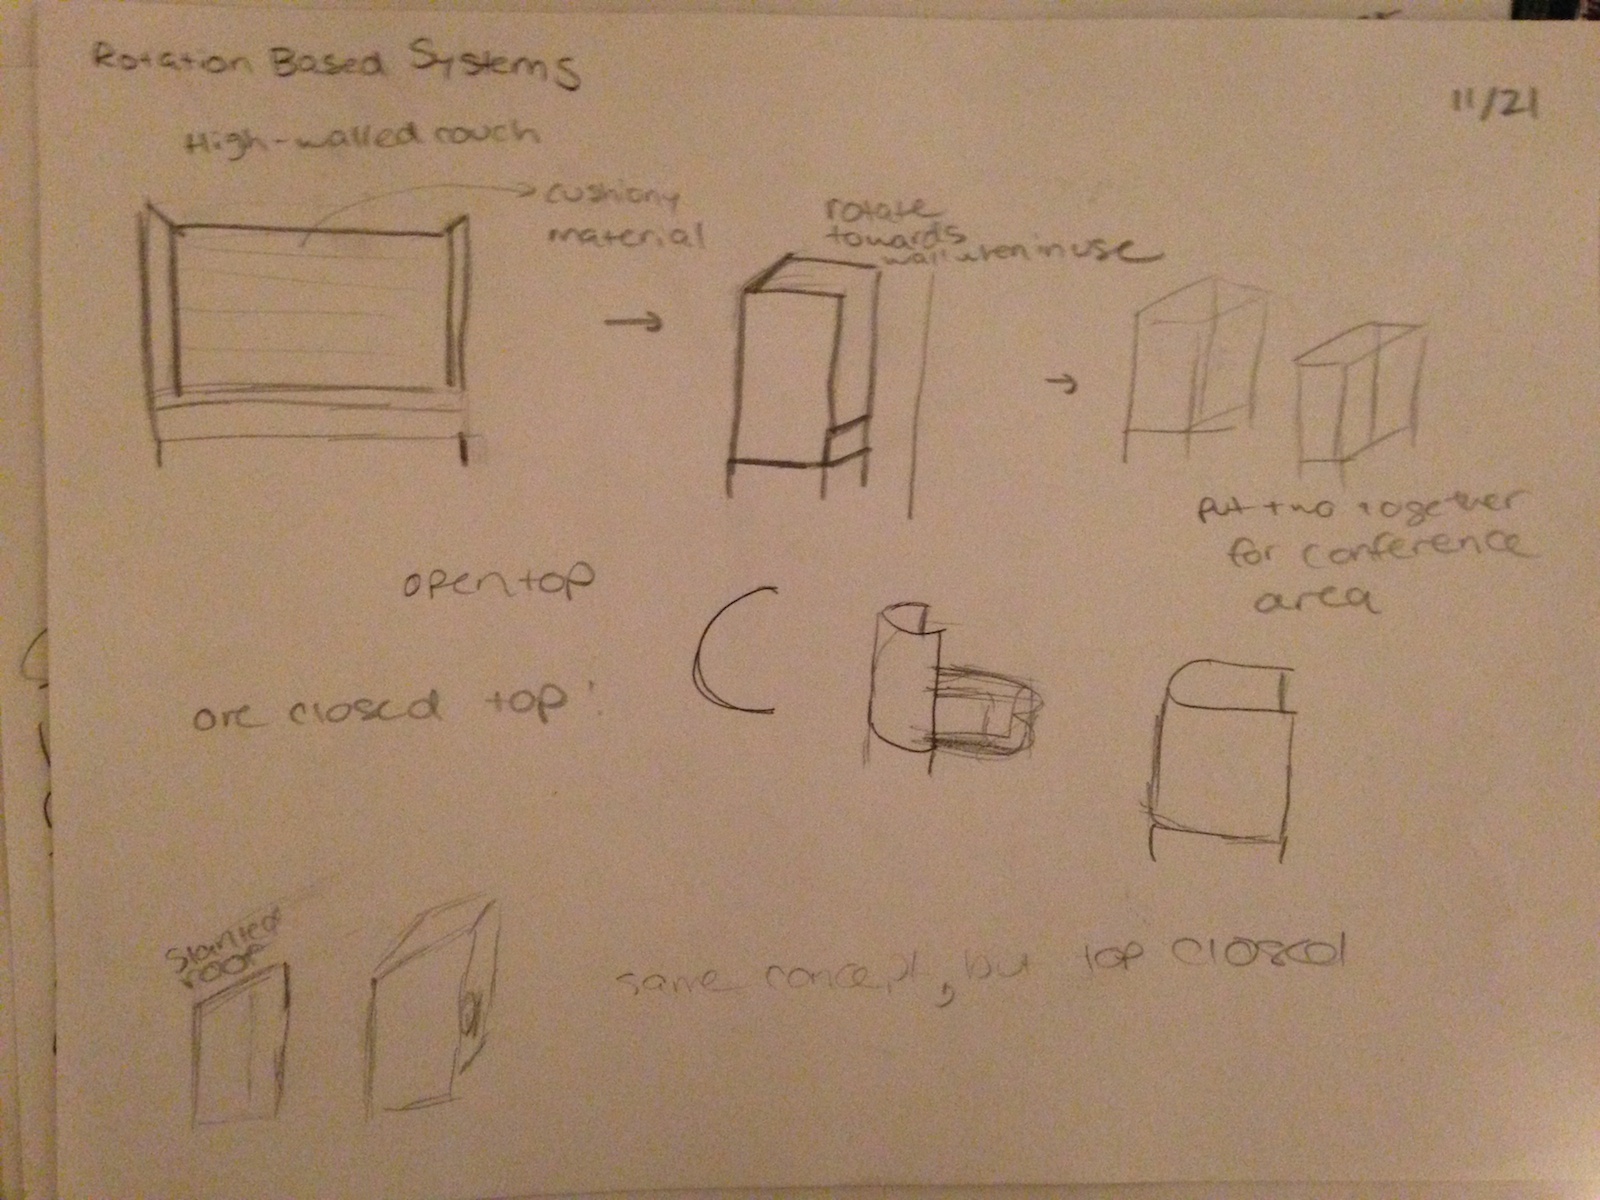
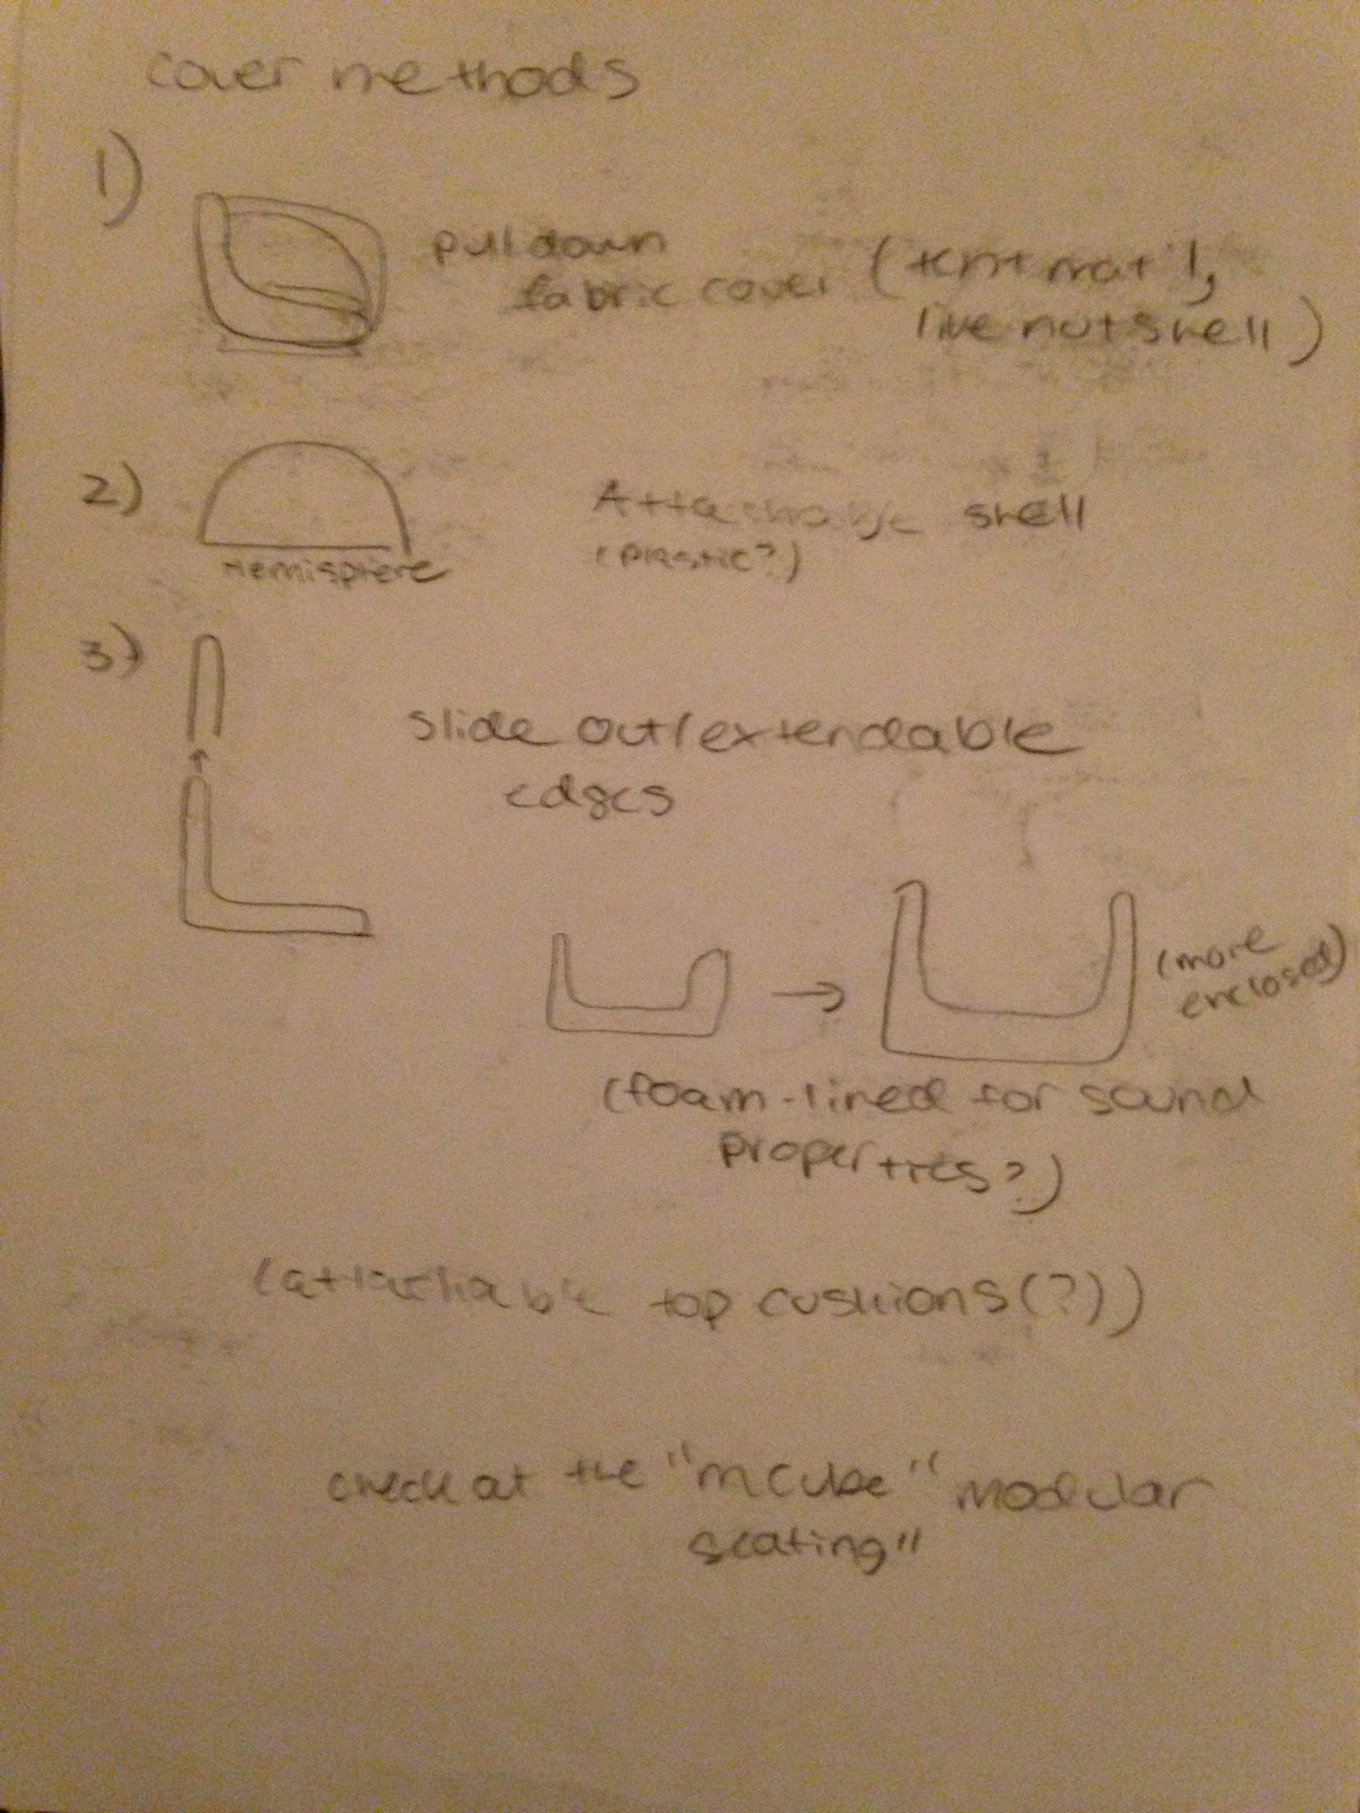
In upcoming weeks, I hope to add bamboo to the interior and add black fabric to the exterior to create an enclosed, private space. I ultimately want to scale this up to accomodate more people, and find a space to permanently house this in the Media Lab for regular use. In terms of electronics, I hope to allow for audio inputs from phones or other external devices, as well as incorporating a sun lamp. It would also be useful to set up an online reservation system, or at least a system that would allow you to remotely check if it were in use.
Thanks
I was super fortunate to have help from so many lovely individuals for this project. The biggest acknowledgement goes to Ermal for being my design and fabrication buddy, serving as a mentor, and seeing me through this project. Santiago, another member of my group, also repeatedly served as a design consultant and provided me with supplies and tips. Dan Novy gave me the LED strips that I used on the edges, and Pip provided numerous pro design tips. Julie helped me with the fabric stages and provided many necessary caffeine deliveries.
Juliana N, Alexis, Palash, Juliana C, Jeff, and Thariq all helped me debug various stages of the process, particularly with electronics. They also provided me with tons of emotional support and buddy time.
Original Proposal Below:
Customizable, Programmable Nap Pod
The concept: I have often found that my peers and I are rather tired. While in some cases this can be attributed to chronic sleep deprivation, in many cases, students simply need the opportunity to take "power naps" to recharge. However, napping can often prove quite challenging as there is limited space for such an activity, and each individual has a specific set of needs with regards to comfort and privacy. I intend to design a structure that would be fully programmable to allow each user to dictate their own nap experience.
GENERAL CONSIDERATIONS:
• Sound
• Light
• Comfort (squishy, but supportive)
• Temperature control
• Humidity control
• Must be compatible for people of different sizes
ADDITIONAL FEATURES:
• Wave/calming noises if desired
• Cool light shades/colors
• Convertible style lid/sliding door/batmobile type door so people can decide how enclosed they would like to be
• Set alarm/nap duration
• Automatic wake-up using light/sound/gust of cold air (potentially connect to apps like sleep cycle to give you a range of wake-up types)
LIGHT:
• Colors (internal)
• Light blocking (external)
• Some light allowed (external)
• Have user select percent, kind of like opacity
• Maybe also select opacity of cover/glass/whatever
SOUND:
• Internal: soothing
• Internal: connect your own audio/ipod/whatever
• Put on sleep-timer so it will play for X amount of time as you fall asleep
• External: sound-proof/sound-blocking
TEMPERATURE:
• Set internal temp
• Change temp at a given time
CLEAN/RESET:
• Sanitizing spray?
• Antibacterial material?
• Mega heat?
• Something to clean it between uses…maybe a removable lining?
ALARMS:
• Set hard deadline or select range of times
• Choose features such as type of sound, volume, light, intensity, airflow, etc
• Open pod after ____ seconds
EVEN MORE RIDICULOUS FEATURES:
• Differential pressure of the mattress based on different body parts/individual preference
• Time limit on how long you can use it for
• BYO Blanket
• IR camera to track movement to determine wake-up time
• Portability vs. structure- can be disassembled and reassembled?